

In my mission to create a Mecca out of my craft room, I have been on a quest for organization and storage. Everything in the room needs a spot to call home and can NOT just be lying around somewhere. And also, everything must be cute. Who knew I was such a dictator? I’ve also been trying to remain environmentally friendly by upcycling and repurposing the millions of containers all over my house. I took two plain rolling plastic carts and with a little bit of scrapbook paper and mod lodge, created pretty, functional storage! 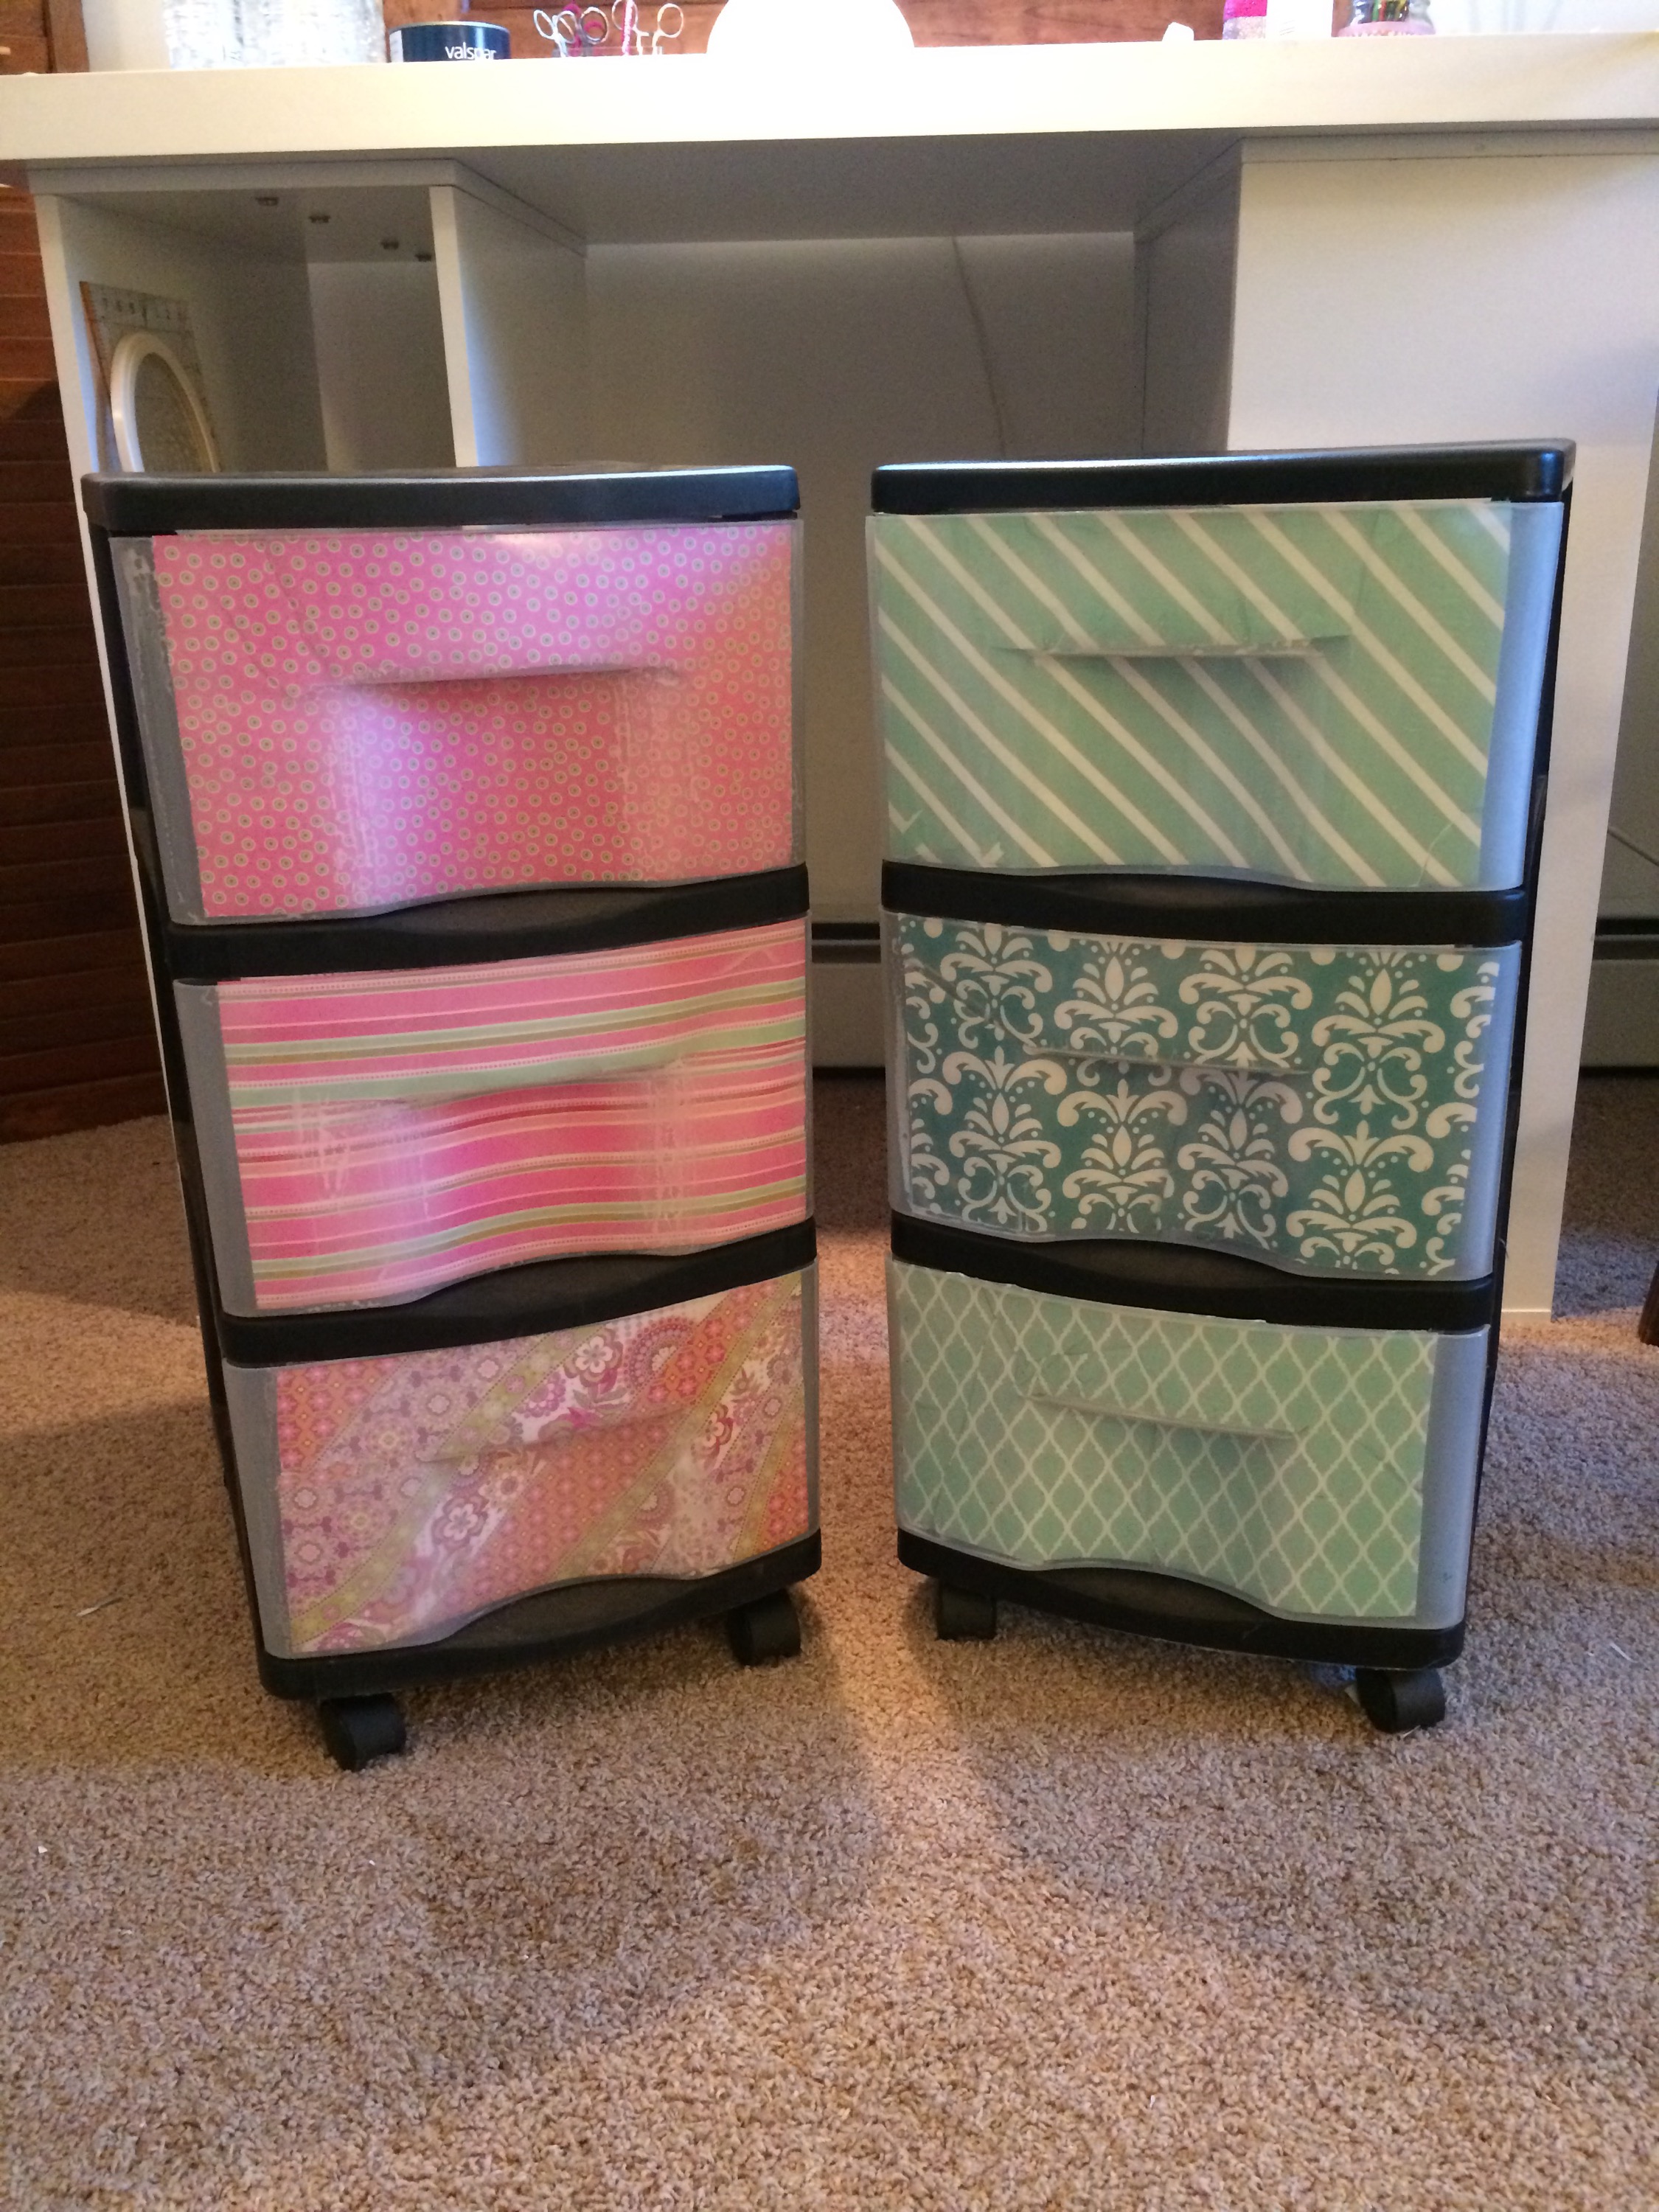 Materials:
* Modpodge (or 2 parts glue to 1 part water)
* Sponge
* Scrapbook paper
* Xacto knife, scissors
Measure the inside of your drawers and cut squares of coordinating paper to fit. 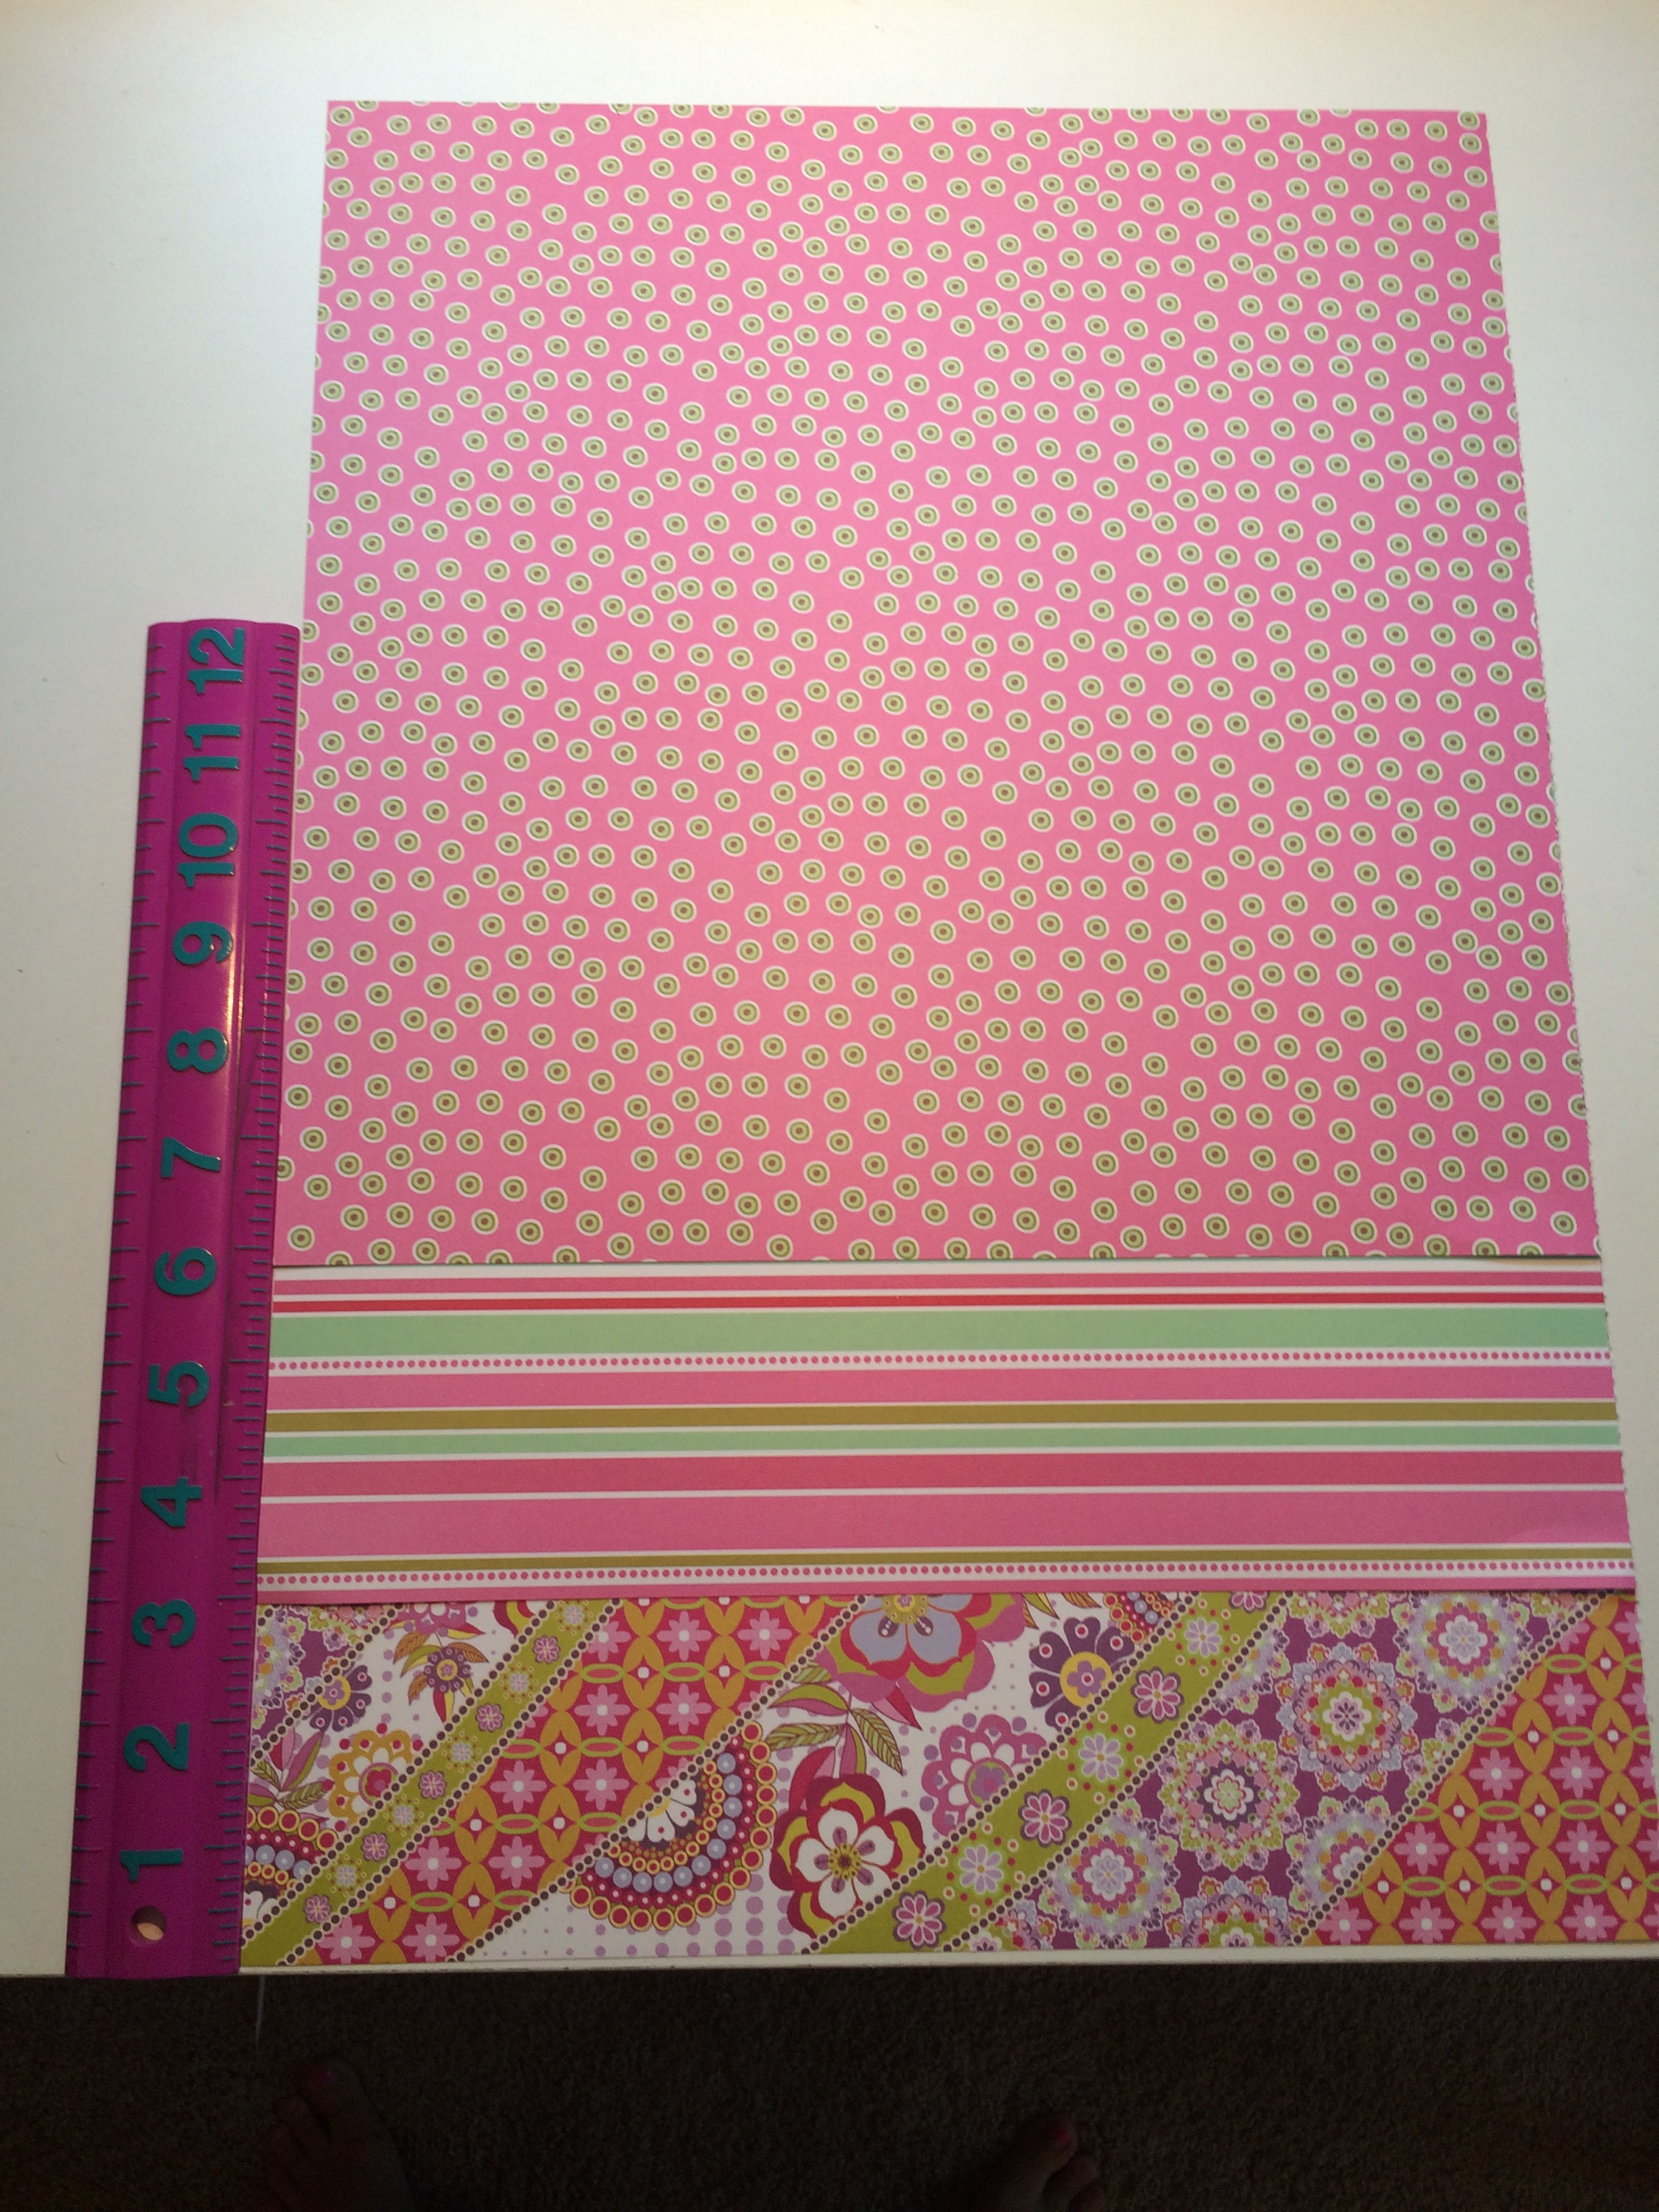 My drawers were 7x13in., so I cut the paper a little smaller (6.75×12) to avoid having to trim later. On the drawers, measure down how far the handle is, and how long it is across. On this cart, it was 6 in long, 2 in down from the top. Measure and mark on the back, and then cut a slit with the xacto knife. This helps the paper fit to the curve of the interior.
 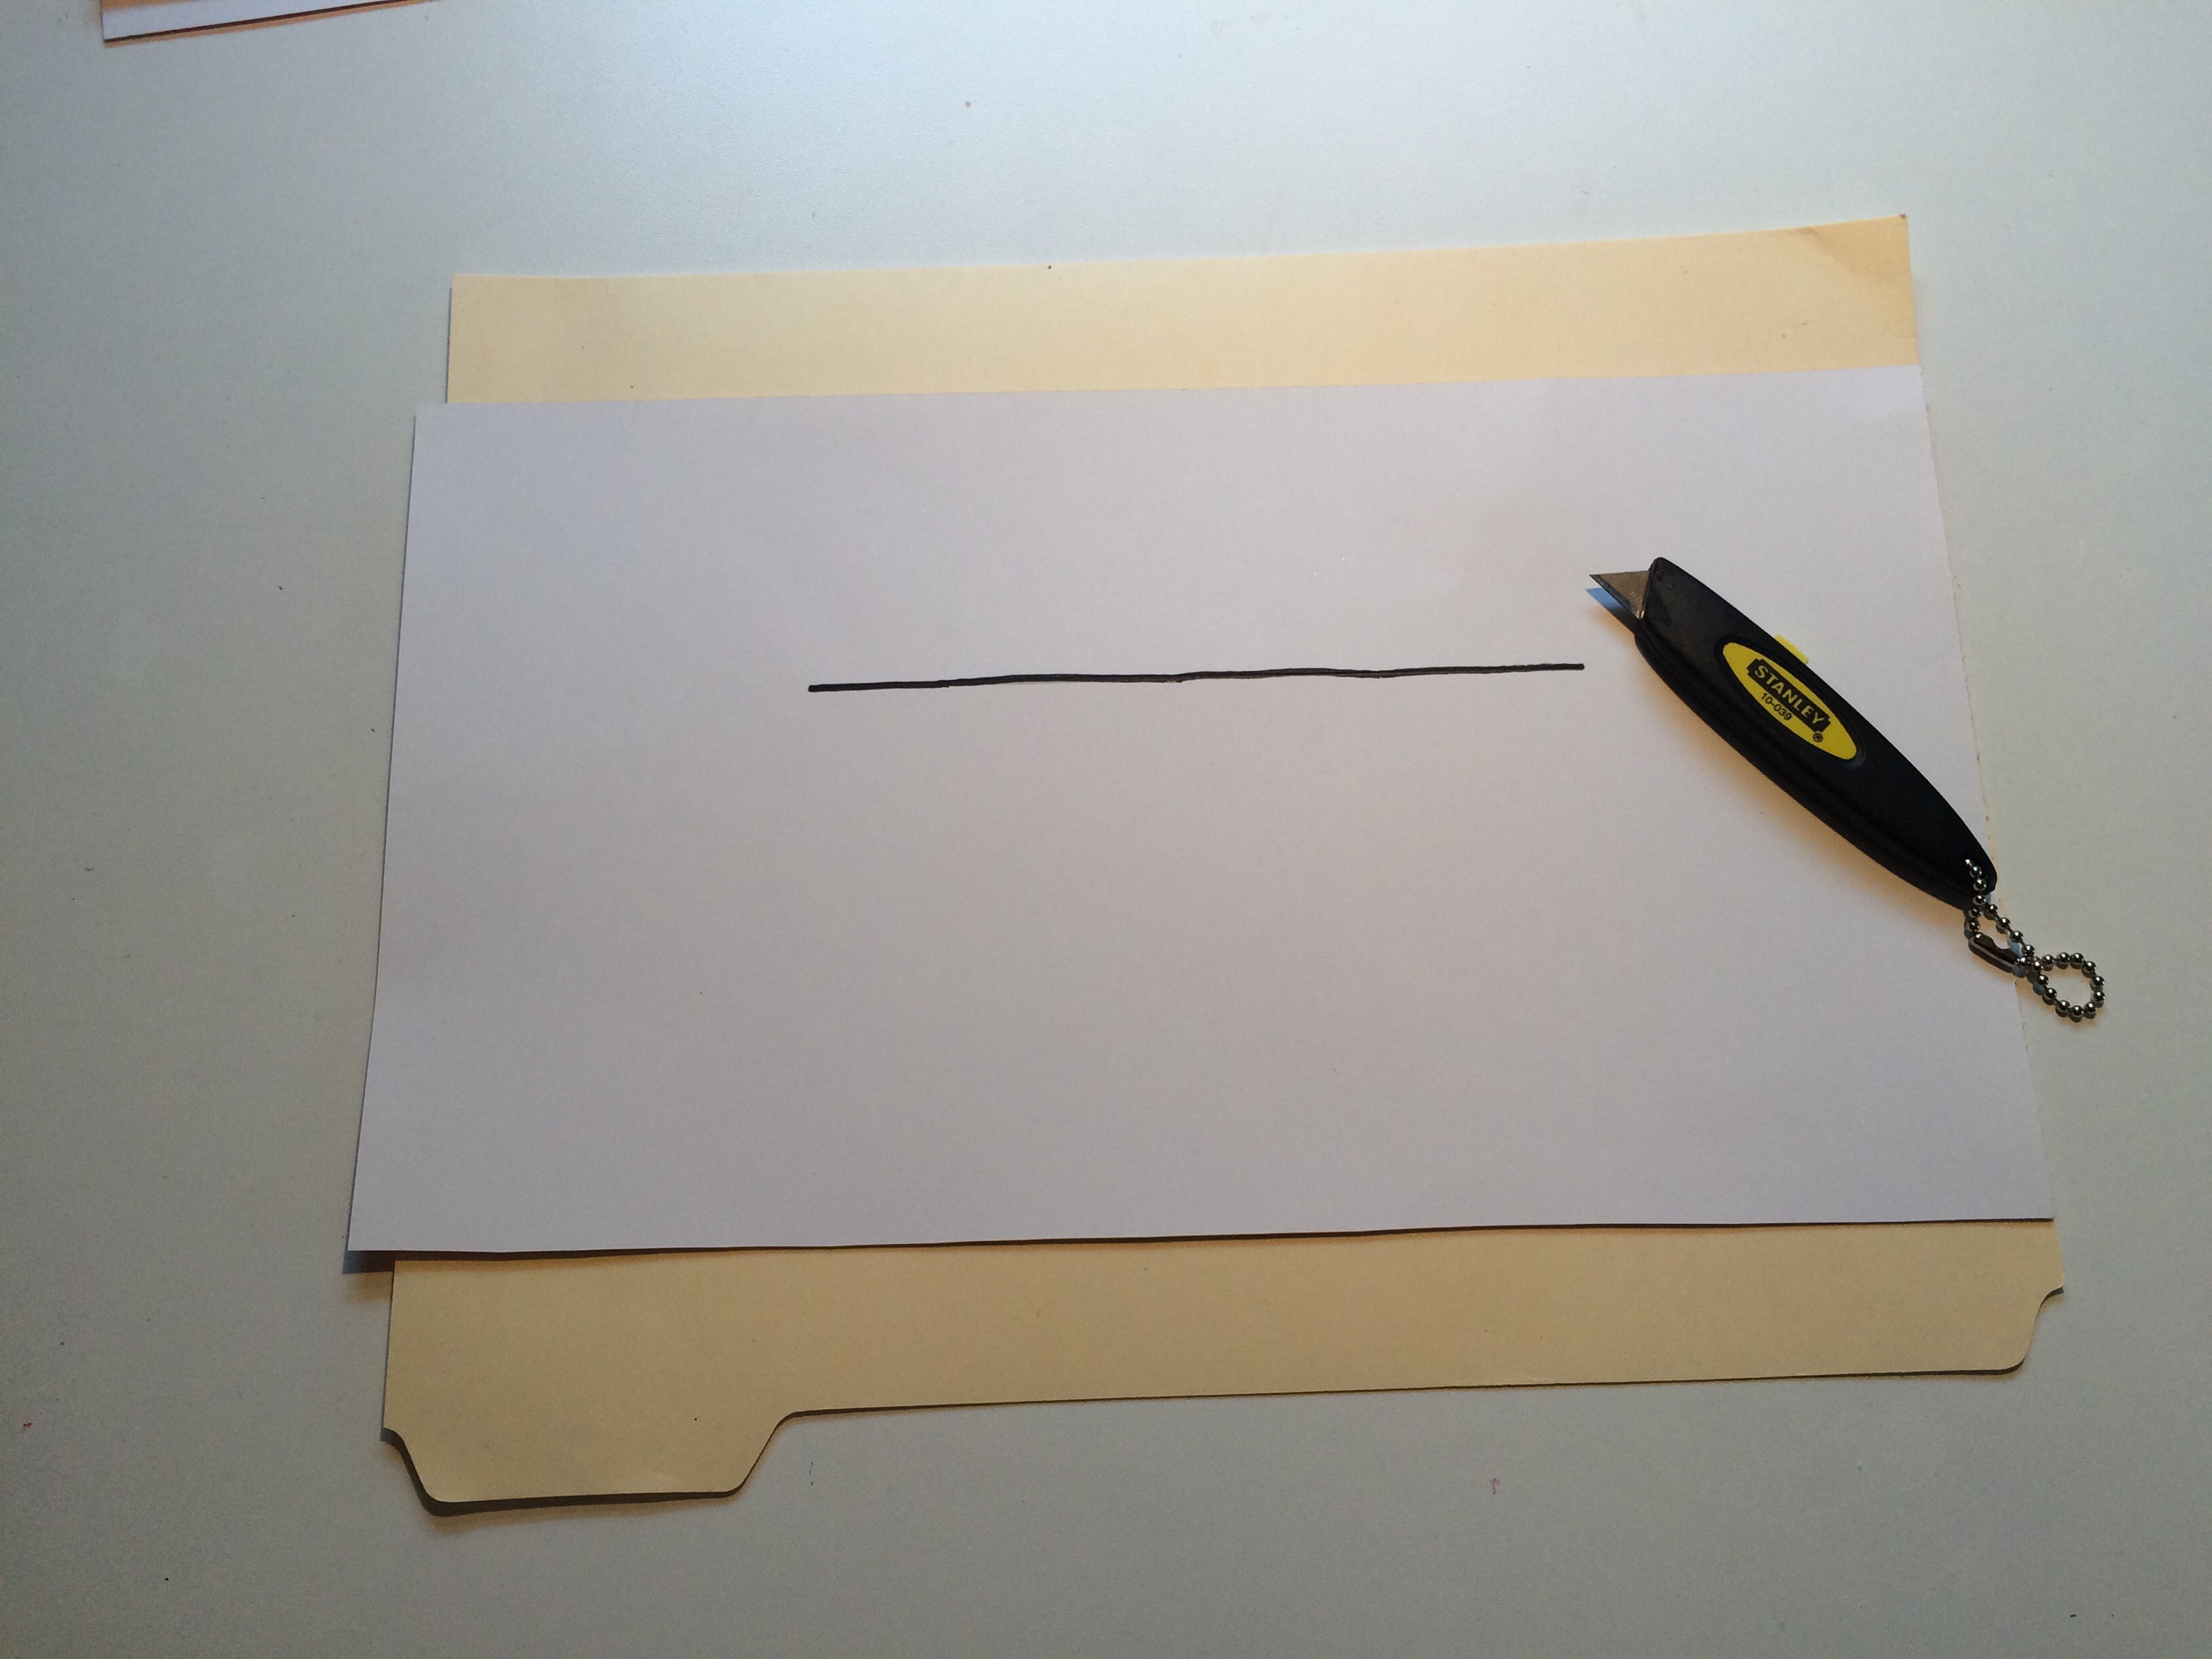 Note: if you are using a heavier piece of cardstock, you might want to cut the line for the handle a little longer to allow for bending. Once you have made sure the paper fits, modpodge the inside of the drawer.
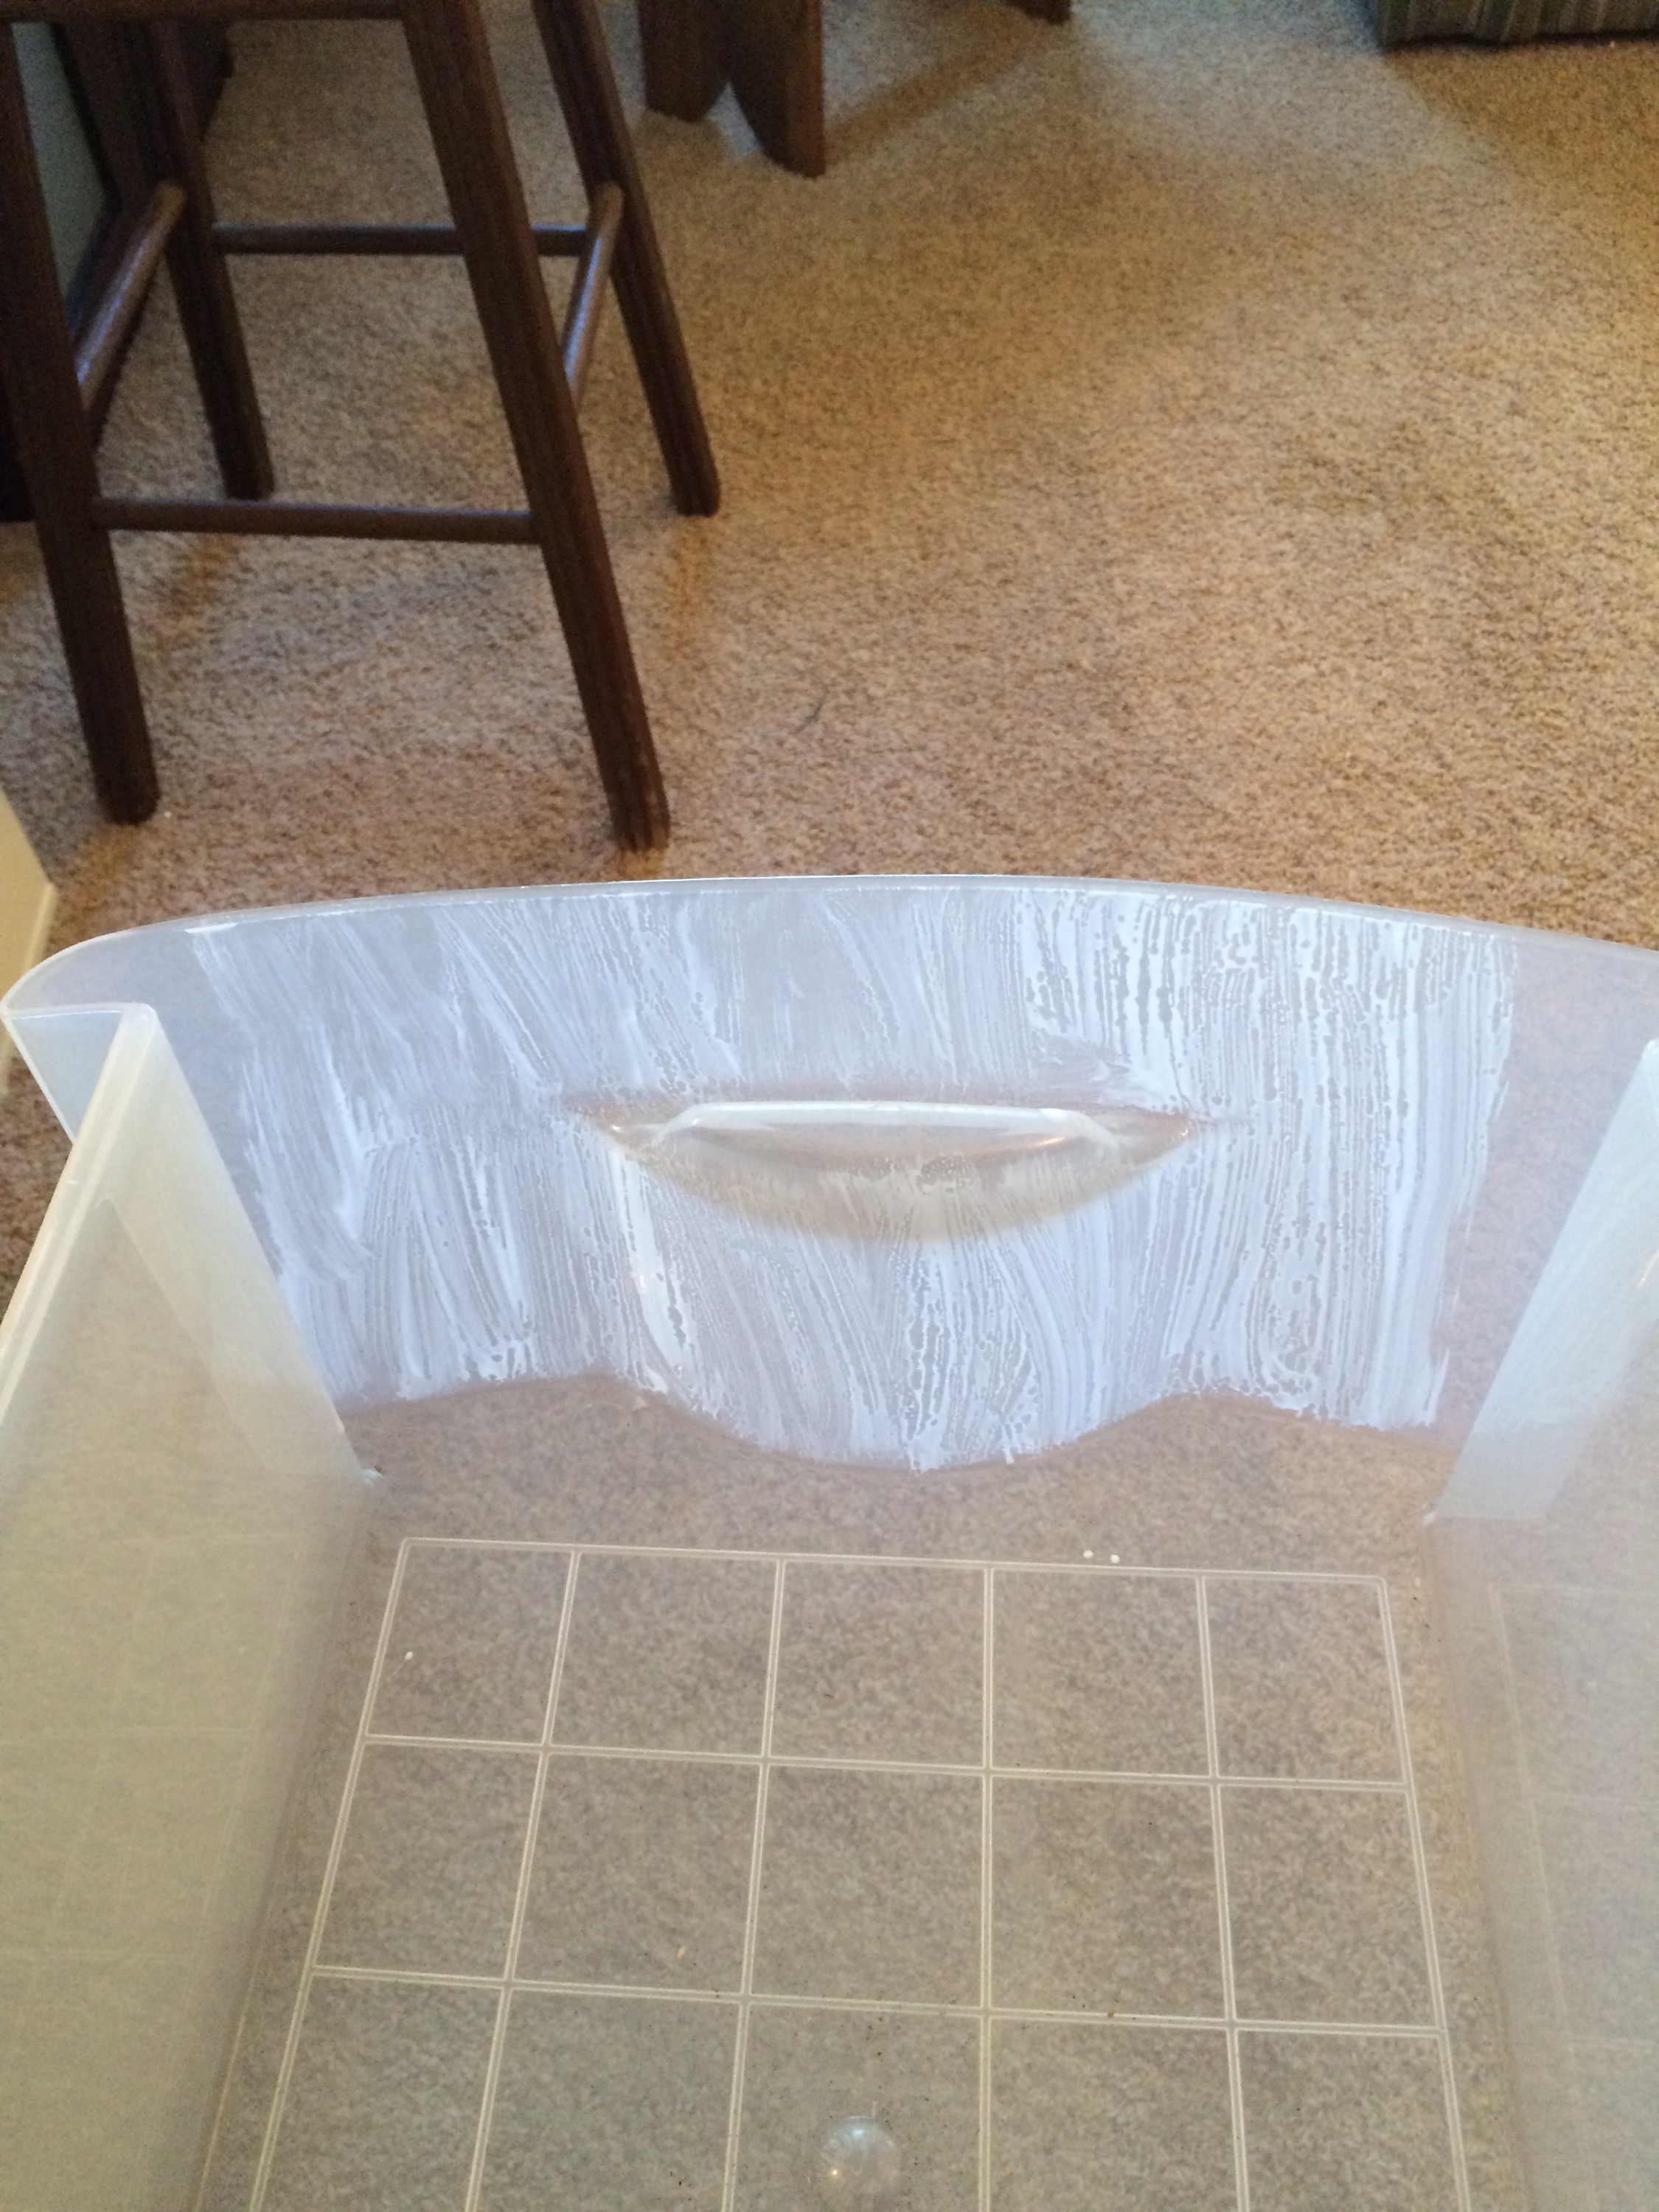
Attach the paper to the inside of the drawer, pressing around the edges. 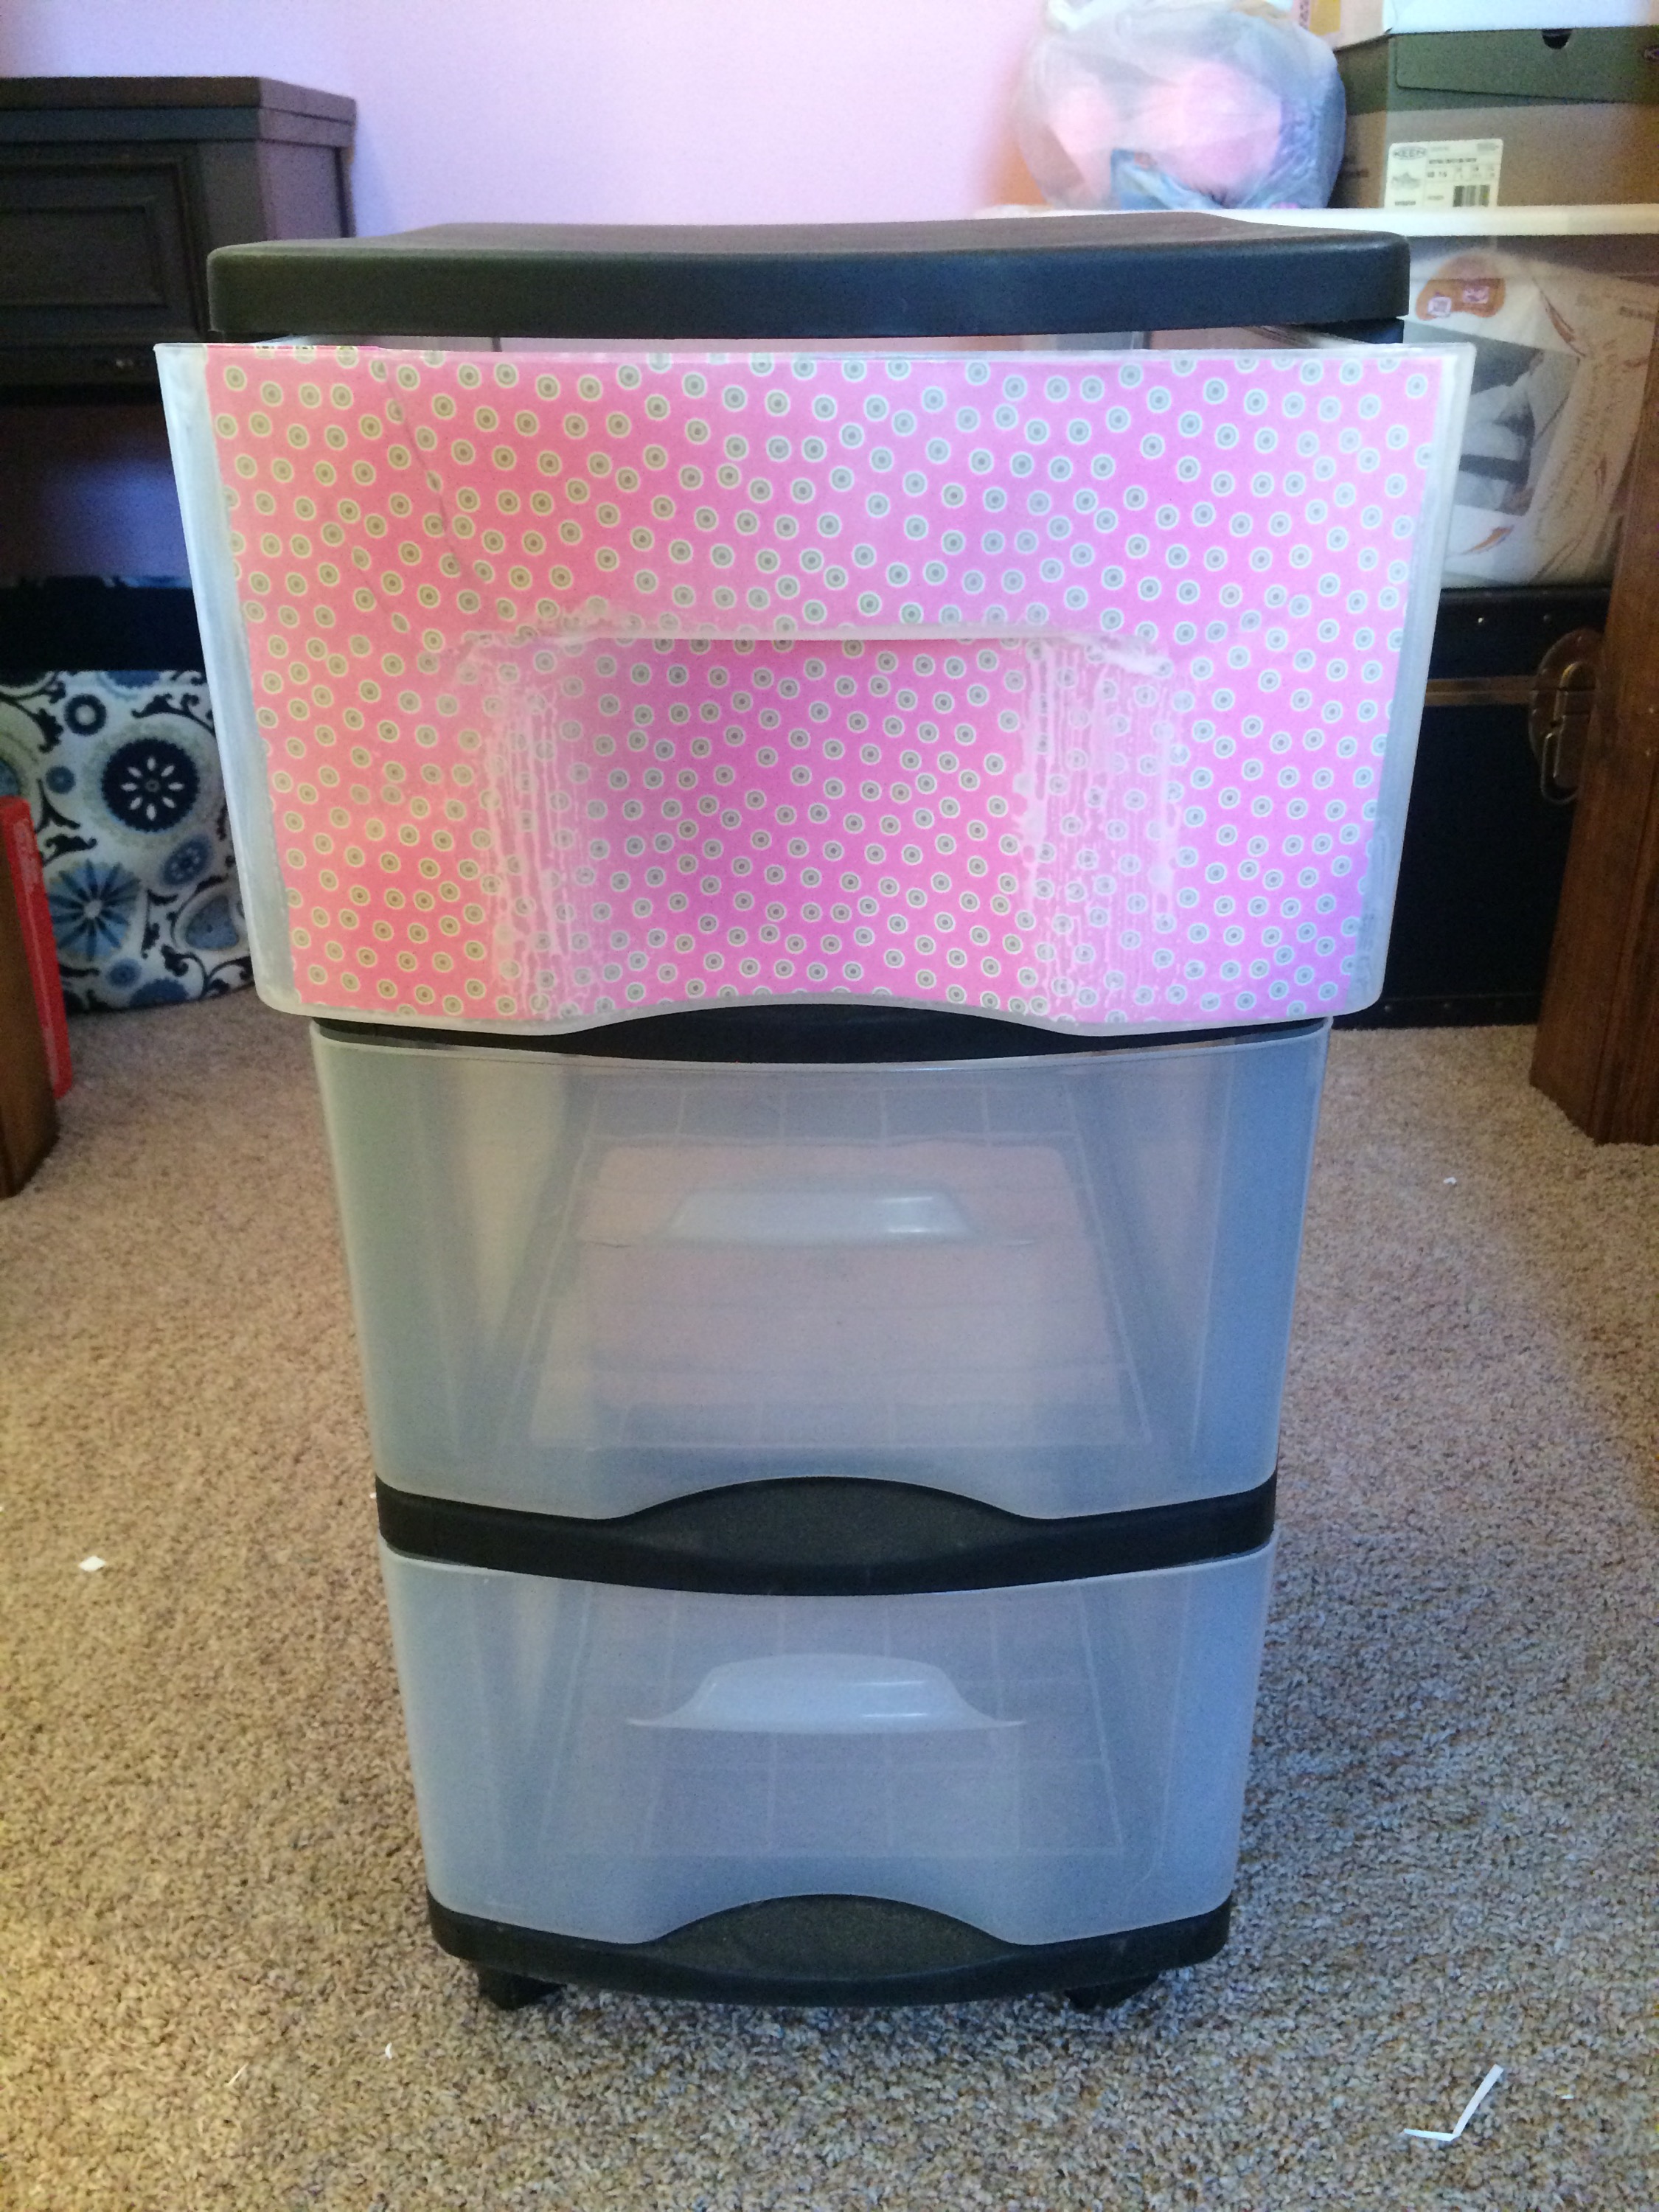 It might wrinkle here and there, but try not to worry about that. It’s most important to make sure the edges are glued securely. The modpodge will dry clear, so don’t worry about the white goo. Continue until all drawers are finished. The coat the inside with a layer of modpodge to seal.
 That’s all! Allow time to dry and then stock with extra craft supplies!
