

I recently went to a Barn Market sale where vendors were selling “repurposed furniture,” aka tables and dressers made to look antique. As I walked around, I noticed the price tags on the larger pieces were hundreds of dollars, and many of them were already sold. I started to realize that every vendor’s tent looked like my basement (and garage and shed). My mother the hoarder never got rid of anything. Literally. I say this all the time, but then I find a new box of receipts or batteries that begs me to ask “What the hell were you going to do with a box of dead batteries!?”
Anyway, I found this desk and decided to make it my first experimental distressing project. It took about 2 days total, with drying time and snack breaks, and the only expenses were a new knob, and some stain. I had sandpaper and paint around the house, and the desk of course. It blows my mind that some people go buy new furniture to make it look old. You can come to my houses and have a ton of authentic stuff. Seriously, come take all of this stuff please.
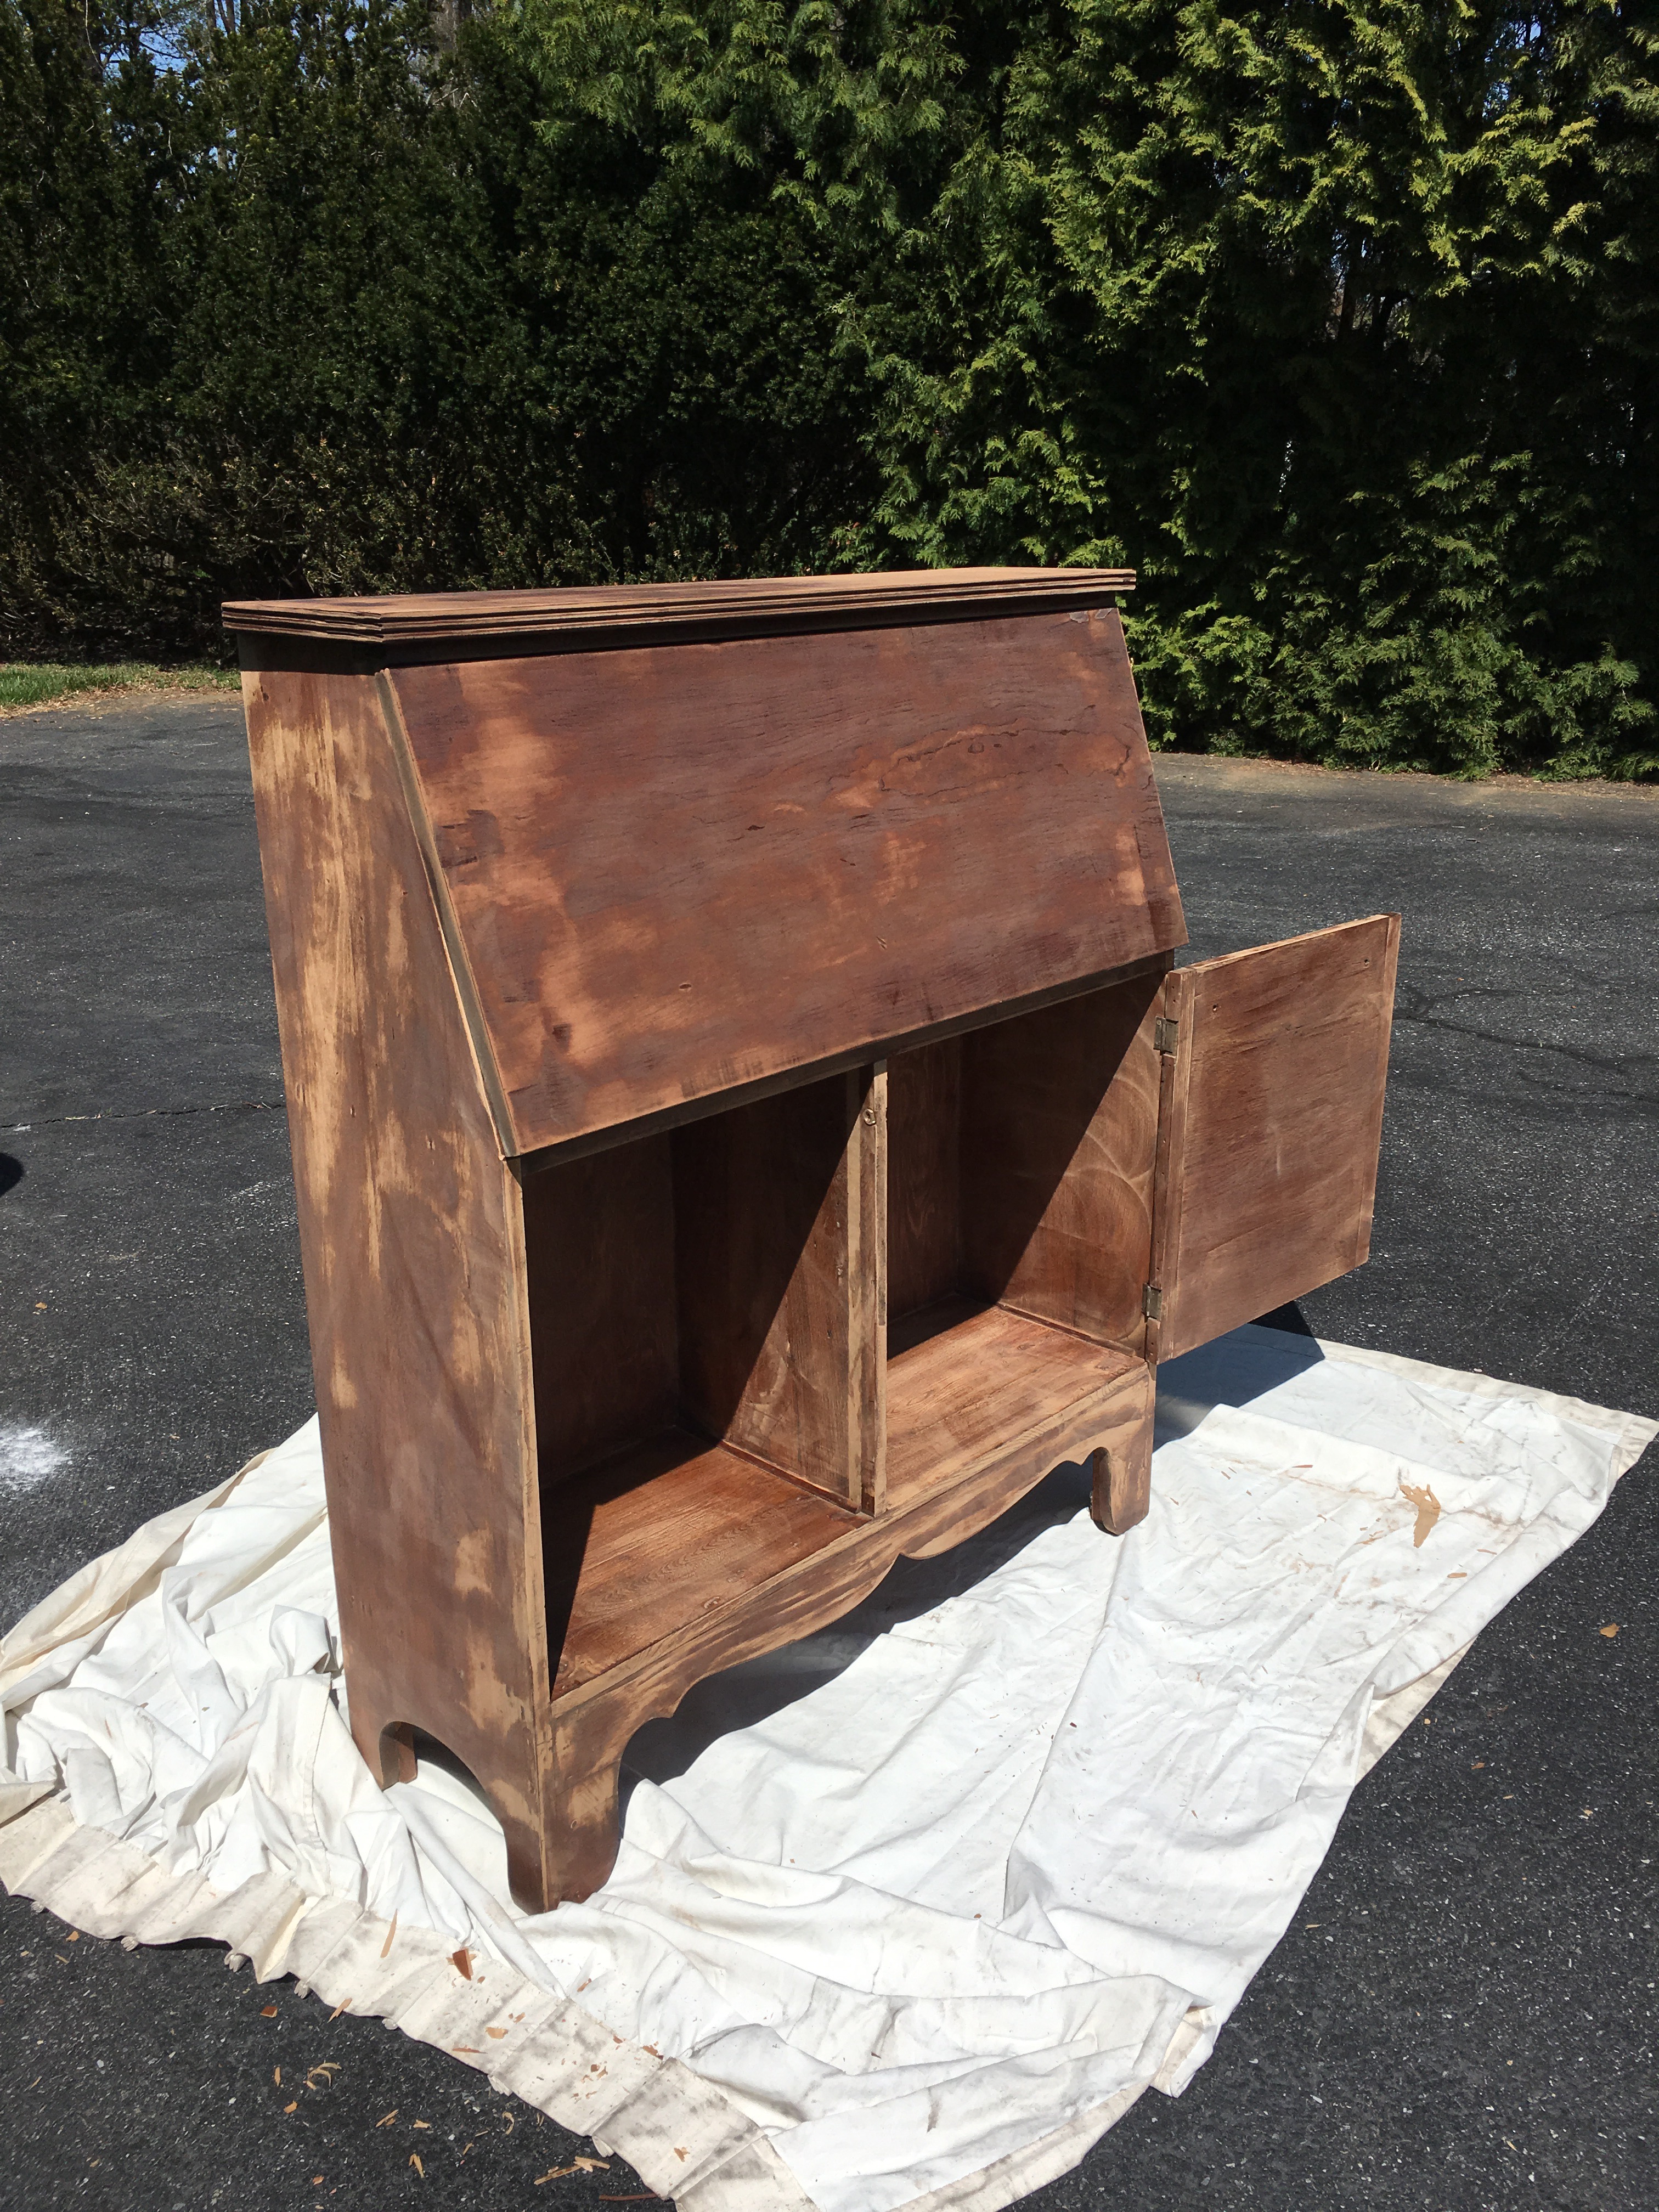
The desk before: plain and boring
The desk now: A bar cart that is perfect in my dining room 💜
 Materials:
Power sander/sandpaper
Paint color of your choice
Paintbrushes
Wood stain
Rags/cloths
Varnish/sealant (clear satin)
Step 1: Sand the entire piece of furniture to get off the layers of previous varnish. The more time you take here the easier it will be to paint. You can use a small piece of sandpaper for the edges- make sure to get a low grit (really scratchy) sandpaper, not anything fine.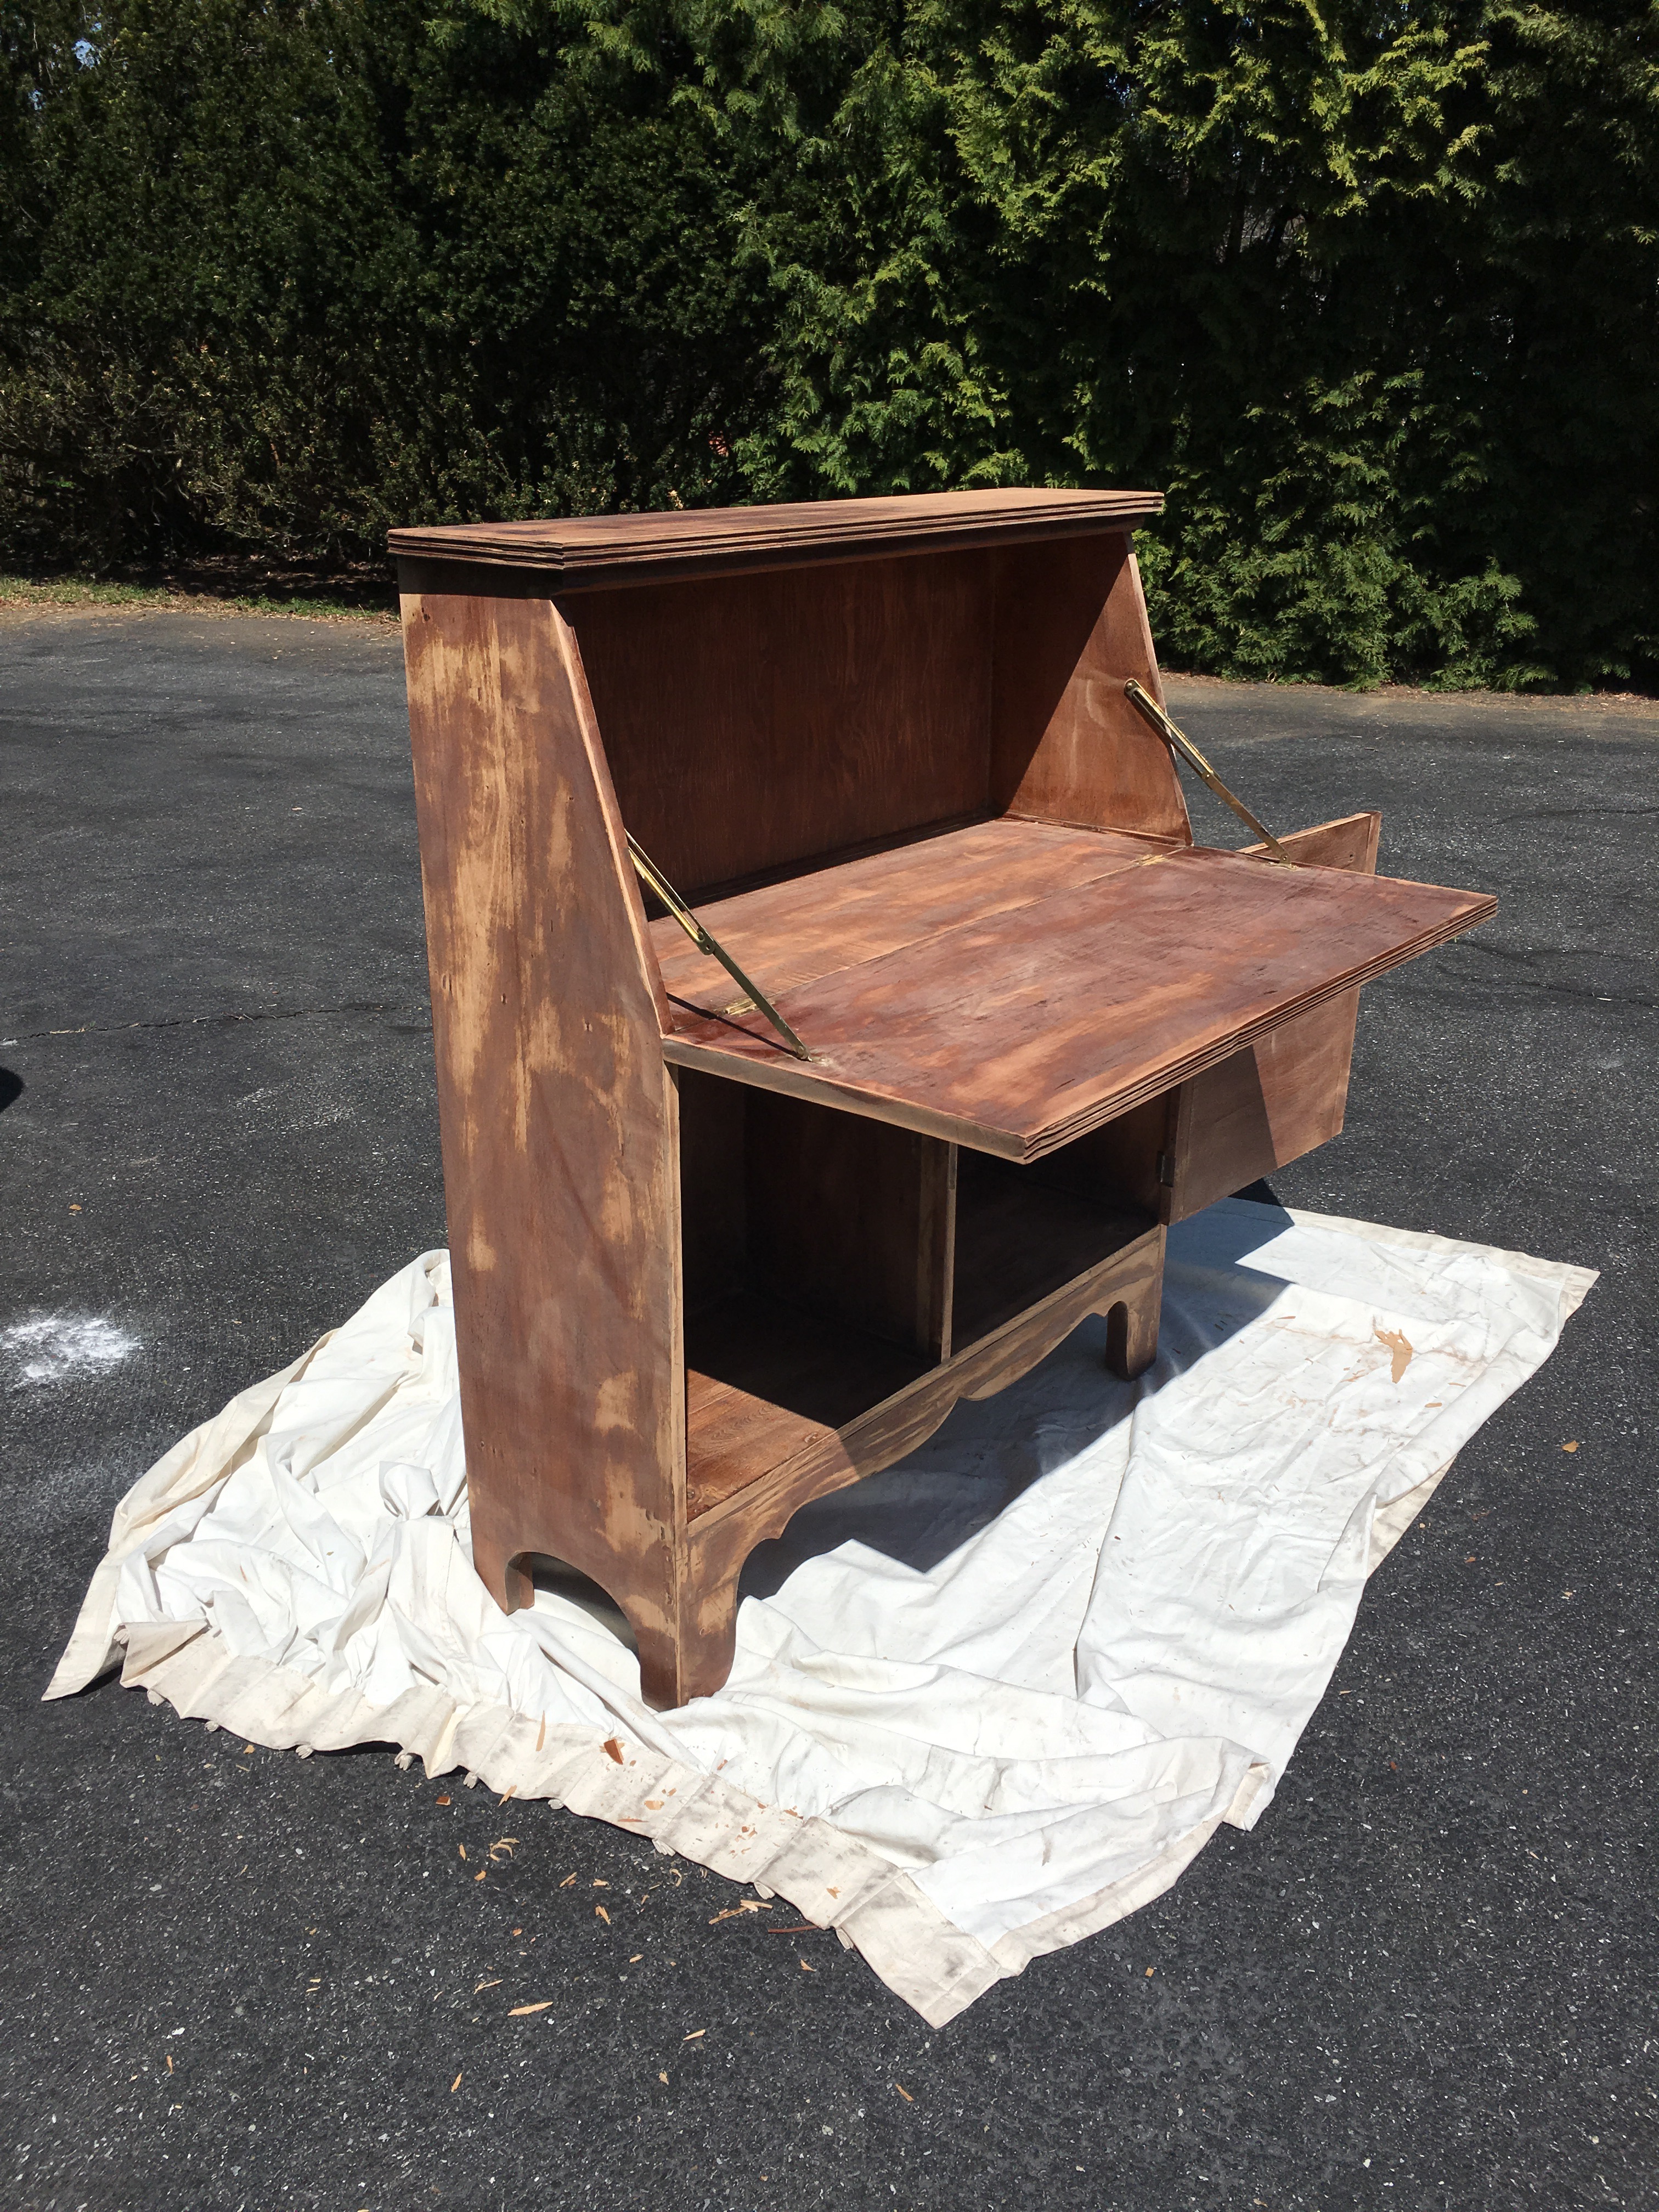
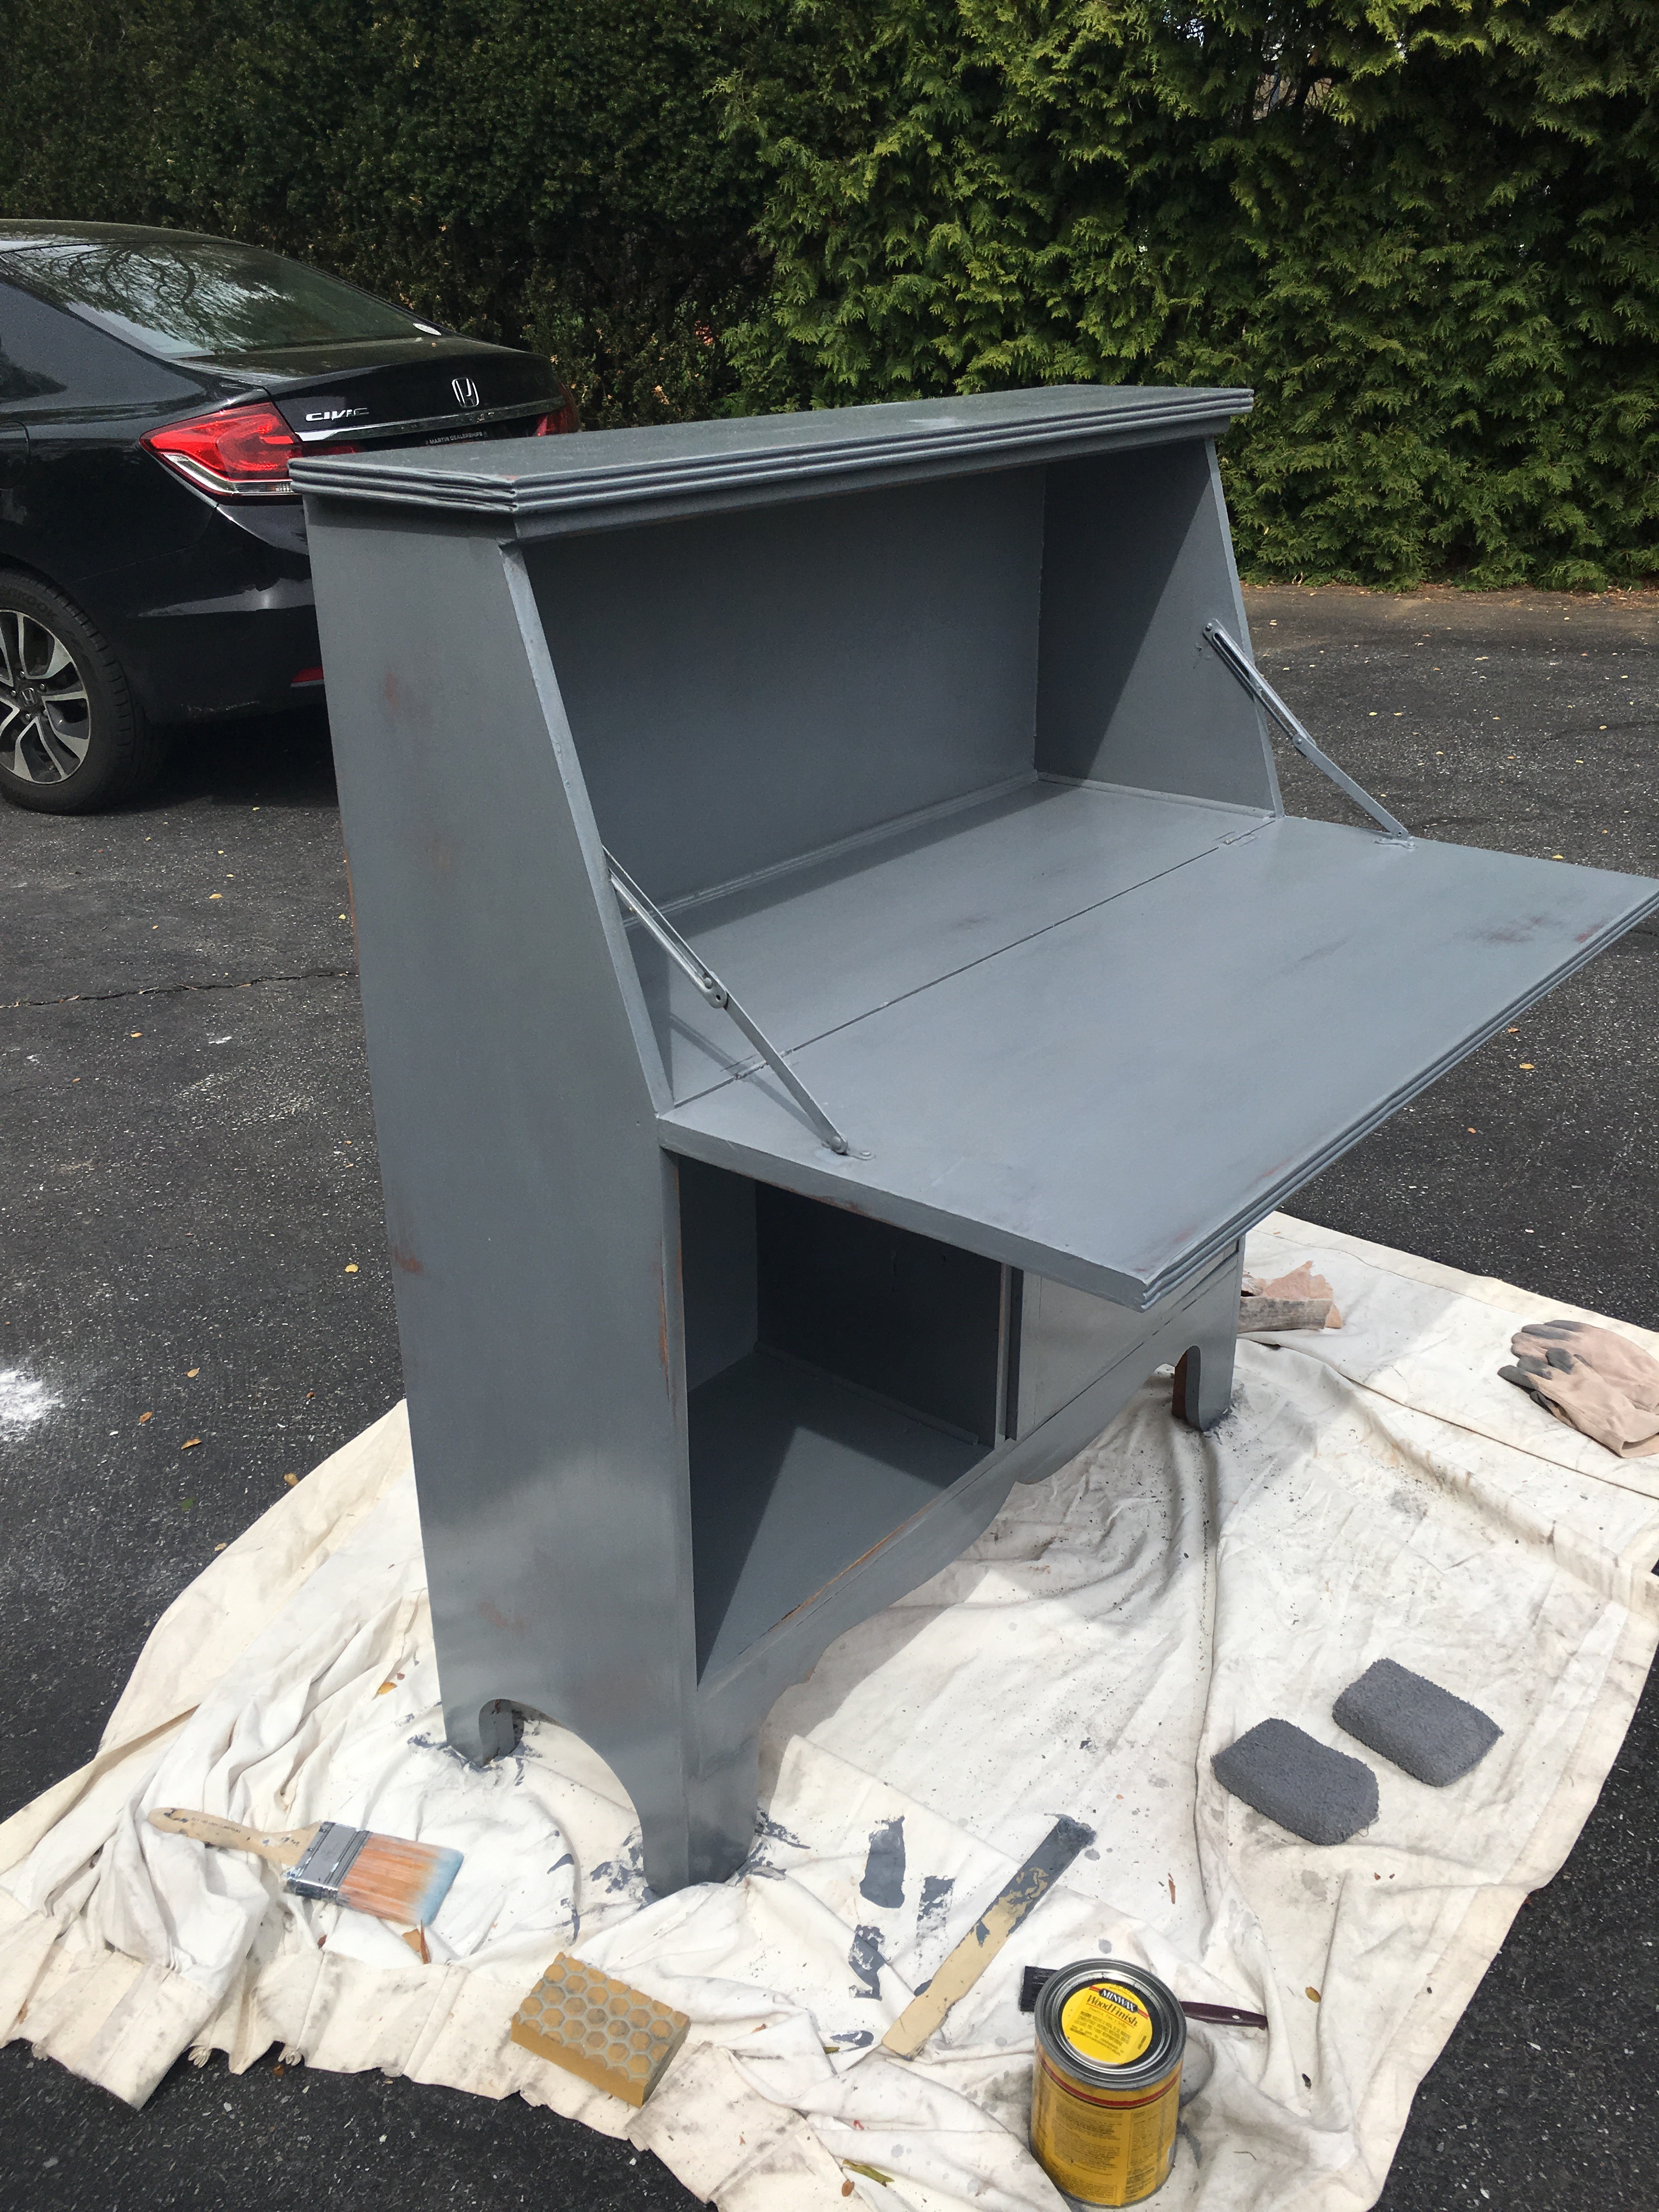
Step 2: Paint it with your base coat color. I chose a gray to match my color scheme, but really any color works. The more you paint the less wood will show through, so if you want a lot of wood, only paint one coat. 
 Step 3: Sand again! Focus on edges and places that would get bumped and knocked into to make the aging look realistic.
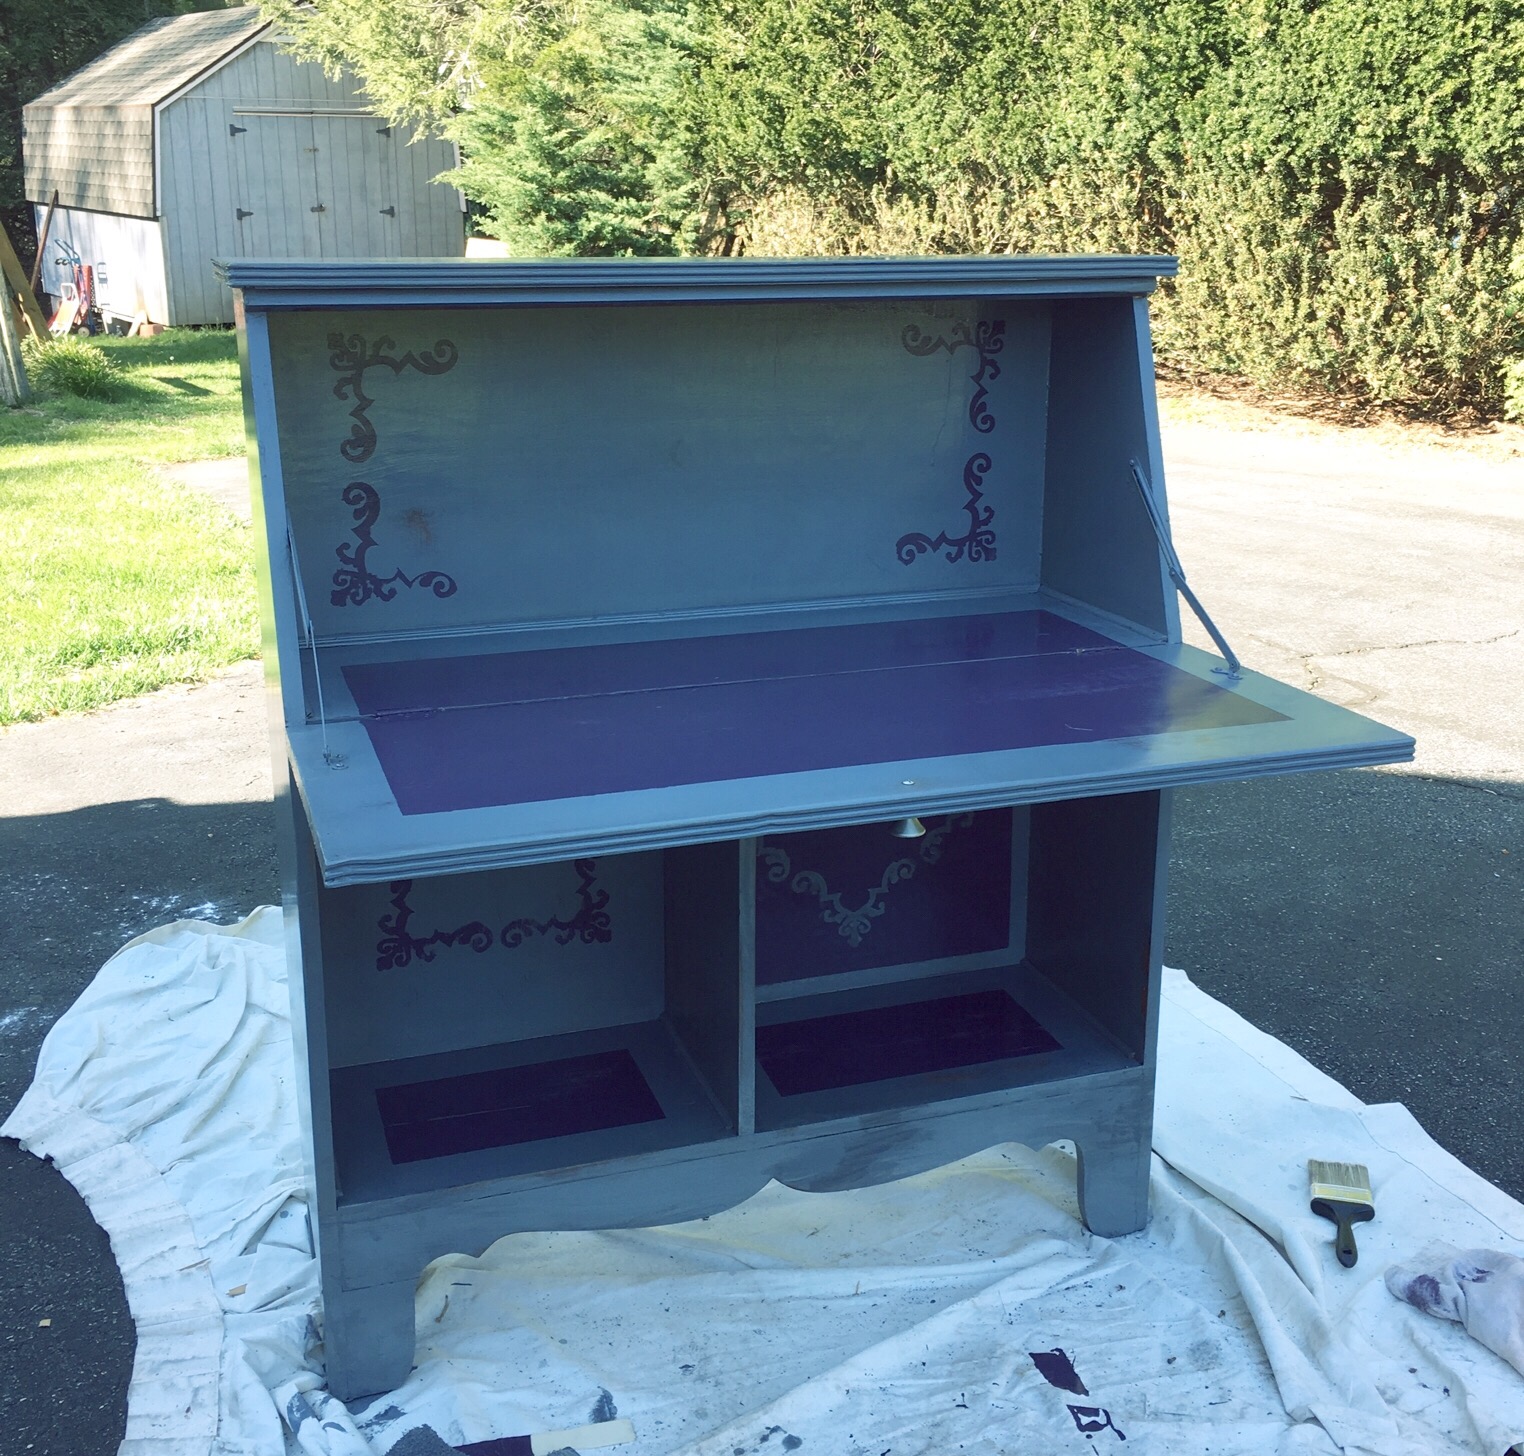
Step 4: Stain. I used a dark gray stain to match my paint and give a little bit of depth. It helped blend the bare wood spots so they don’t stand out so much, and look more natural. It also makes the piece a little shiny.
Step 5: Embellish. I made a stencil using my Cricut and a sheet of card stock, and put some purple accents on the shelves.
 Originally I planned on leaving a door on the bottom cabinets, but I liked my design so much I decided to take the door off. I also added a silver door pull on the drop down part of the desk.
Step 6: Take in the house and fill with stuff! The bottom cabinet holds my wine with a holder I ordered off amazon for $6. The other cabinet is the perfect spot for my drink dispensers or oversized liquor bottles.
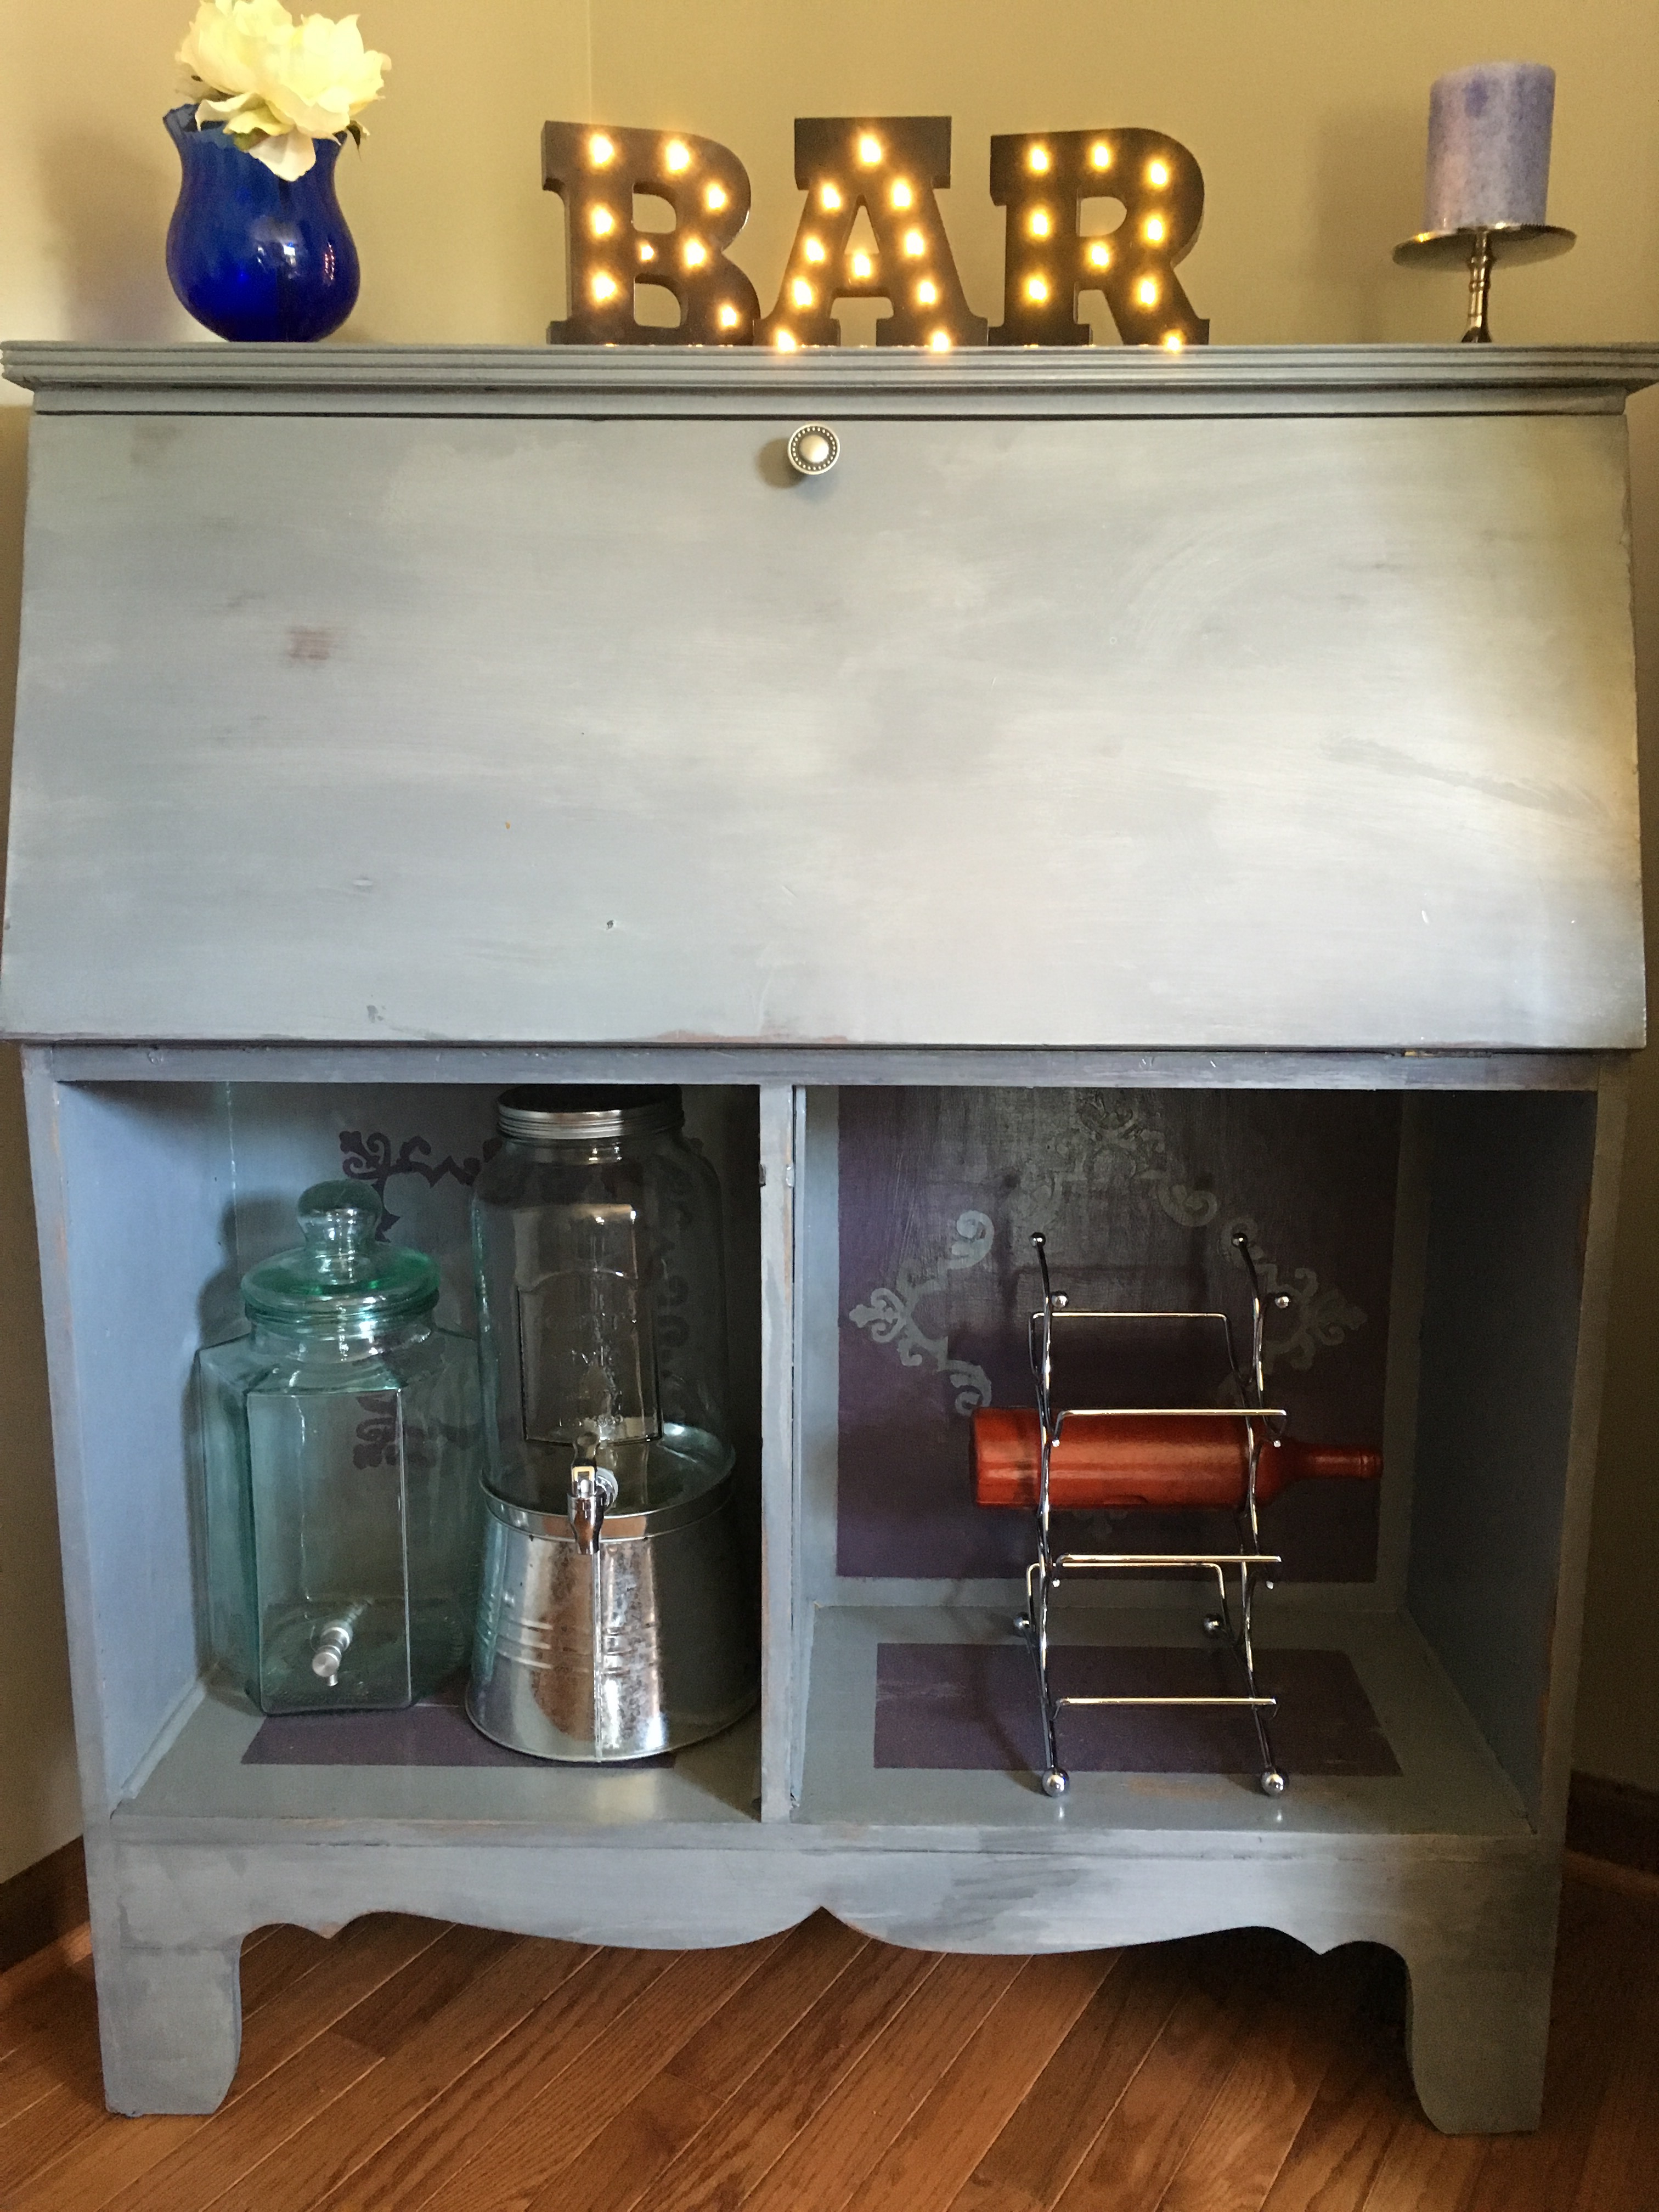
The open part of the bar holds all of the necessary liquors, and accessories like an ice bucket, glasses, straws and bowls for lemons and limes. During a party guests can serve themselves and when it’s over, it closes right up.

 I got the marquee lights at Michael’s for $5 each, and had the vase, candle and tray around the house.
On sale for the low low price of $600!! (Never mind that it costs me about $20 to make…)

What a great piece. You did such a nice job. And love the touches with the marquee lights!
LikeLiked by 1 person